With COVID-19 keeping people quarantined, encouraging people to stay inside, or to act in social distancing, it could be a challenge to feed your creative itch. One big question you might have is “what can I photograph if I’m stuck inside?” There are tons of options photograph at home or near your home. One o those things is macro photography. The best thing is you don’t need to spend a lot of money for macro and most of you can shoot macro with what you already own.
What is Macro Photography?
Macro photography is shooting close-ups of objects, usually small objects. In order to shoot macro photography, you need at least one of the following:
Macro lens
Extension tubes
Lens reverse mount
Close-up or macro lens filter
How to shoot macro photography
Shooting macro photography isn’t difficult. The idea is to get at close to the subject as you can and shoot. What’s more difficult is how to get creative with it and finding the right subjects.
What to shoot:
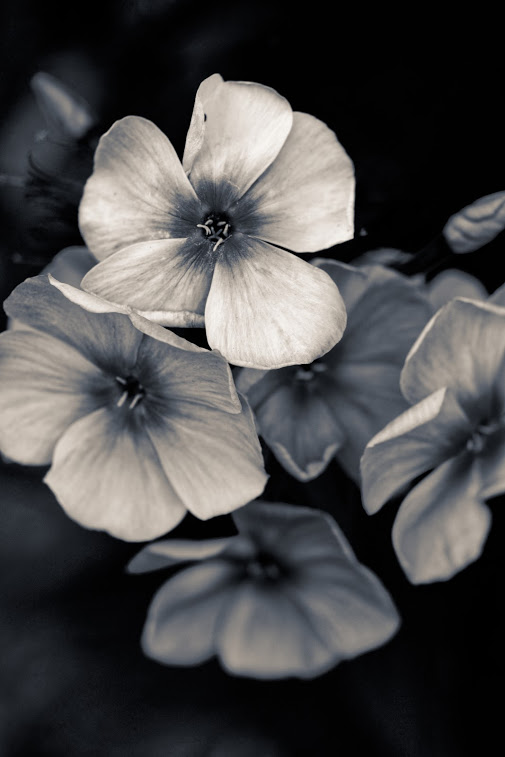
Flowers
Insects
Soap bubbles
Food coloring/dye in water and oil (shine lights through it)
Abstract textures from household items
Toys
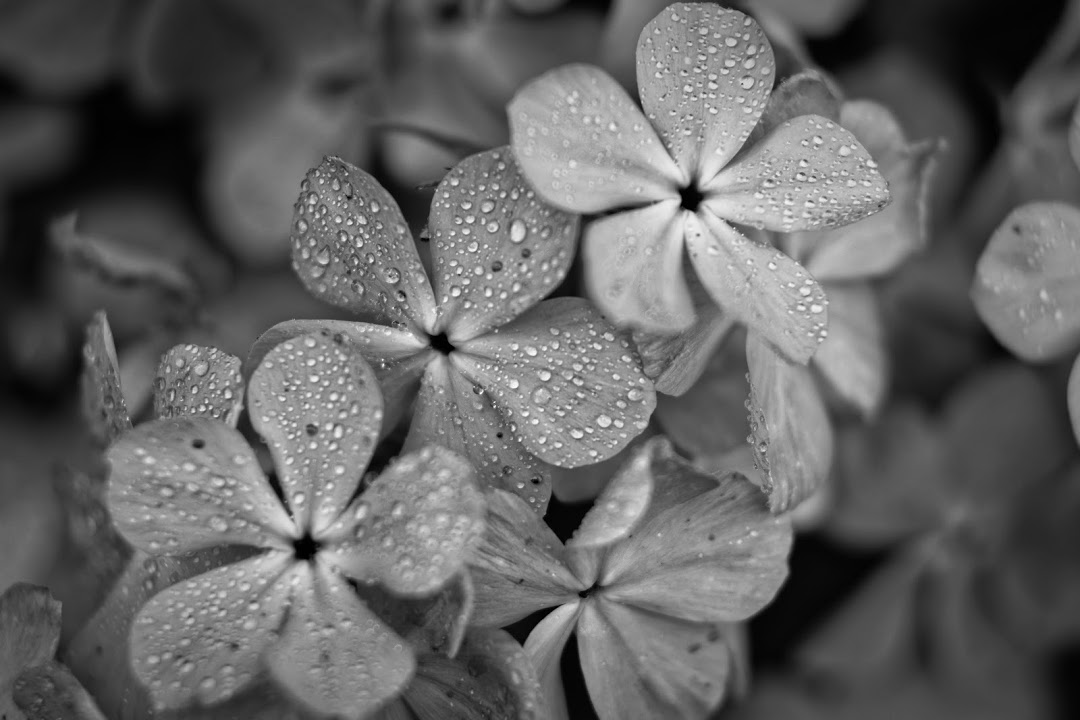
With these subject in mind, the next thing is to get creative with it. Setting a scene can be everything that makes or breaks the photo. Add lighting to highlight specific aspects of your subject or to isolate your subject from the background. When shooting flowers, use a spray or misting bottle to add water droplets on the flowers. Use the spray bottle on other subjects if it makes sense too. Use colored paper as a backdrop for the scene and consider using a separate light to make the background more vivid. Play with perspective as well. For instance, if you shoot toys from a low angle, with the right juxtaposition, the toys can appear life sized and real.
Macro lens
Photo shot with a Macro lens
Depending how serious you want to get into macro photography, you might purchase a dedicated macro lens. The good news is you don’t have to. Many lenses, especially zoom lenses, will state they’re capable of macro photography. The lens will say “macro” on the front or side somewhere. At the very least, look for a distance printed on the lens, usually labeled both in feet and meters. The distance indicates the minimum focusing distance. This refers to the closest distance the you can get to your subject while still being able to focus on it. The distance is not measured from the front of the lens, but rather the camera’s image sensor, which can be found by a symbol on the side of the camera that looks like a circle with a line through it.
Dedicated macro lenses usually advertise the magnification ratio on the lens. This will appear as something like 1:1 or 1:2.5. A lens with 1:1 macro means that if you placed an object directly on the front of the lens, it will appear the same size in the photo taken (it won’t be larger or smaller, like with other lenses). A lens with 1:2.5 is considered a super macro lens, meaning it magnifies objects by two and a half times. Super macro lenses start to approach the territory of microscopes.
Let’s assume you don’t have a dedicated macro lens, then what do you do? Easy! Use whatever you have, zoom as close to your subject as you can, and move in as close as you can while keeping in mind the minimum focusing distance I mentioned earlier. The more you can zoom in, the more “macro” the shot can appear. That means if you have something similar to a Canon 55-250mm lens or Nikon 70-300mm, use it.
Pros:
Designed specifically for macro
Can also be used for other photography genres/styles
Cons:
Costly
Focus can be slow
Extension tubes
Photo shot with extension tubes
Extension tubes are my favorite tool for macro photography without spending the money on a dedicated macro lens. In fact, a macro lens could cost several hundred dollars whereas extension tubes can cost $30 USD. Extension tubes just act as spacers between the lens and the camera body. This shifts the focal plane, allowing you to physically get closer to your subject. Most have no computer chip to let your camera and lens communicate with each other, so look for this when you shop for extension tubes. Ideally, you want a set with the lens communication chip. You’ll know the chip is included if the description mentions auto focus supported or auto exposure.
Pros of extension tubes:
No loss of image quality (close-up/macro lens filters can reduce image quality)
Affordable
Allows you to focus closer to the subject
Can stack/combine multiple extension tubes to get closer
Cons:
Reduces light passing through the lens
Causes shallower depth of field (less of the subject will be in focus)
Stacking/combining too big of extension tubes with some lenses will move focal plane inside the lens - you will be unable to get focus.
One final point about using extension tubes is that although you might buy a set with the communication chip to allow auto focus and auto exposure, you will want to manually focus anyway. You will find yourself so close to your subject and with such shallow depth of field that even the slightest movement will throw off focus. The reason you want a set with a chip is so you can still control exposure.
When using extension tubes, you should set focus to manual, compose your shot, adjust focus so it’s as close to being in focus as possible, then fine-tune focus be shifting your weight frontwards and backwards. To get more of the image in focus, close the aperture more - you may need to add more light to compensate.
Lens reverse mount
I have never used a lens reverse mount before, but am familiar with them. These accessories allow you to mount a lens backwards to your camera. Because the lens is backwards, you’re able to shoot closer to your subject.
Pros:
No loss of image quality
More affordable than a macro lens, more expensive than extension tubes
Allows you to shoot closer to your subject
No change in depth of field (unlike extension tubes)
Cons:
You can lose light, but not as much as extension tubes
Only more expensive models include an attachment to allow auto focus and exposure control to the lens
Back of lens is exposed to the elements, which can introduce dirt/dust inside your camera when you attach the lens to the camera normally
Close-up and macro lens filters
Close-up and macro filters are among the worst accessories for macro photography, but they’re also the cheapest. These accessories screw onto the front of your lens and act like a magnifying glass. The problem is that as your subject is magnified, distortion is introduced, among other optical imperfections.
Pros:
Very affordable
Attaches to front of lens, which can serve as protection
Magnifies your subject
Cons:
Distorts your subject
Introduces optical imperfections like flaring, chromatic aberration, and purple fringing
Usually softens the image
Need different sizes for different lenses.


