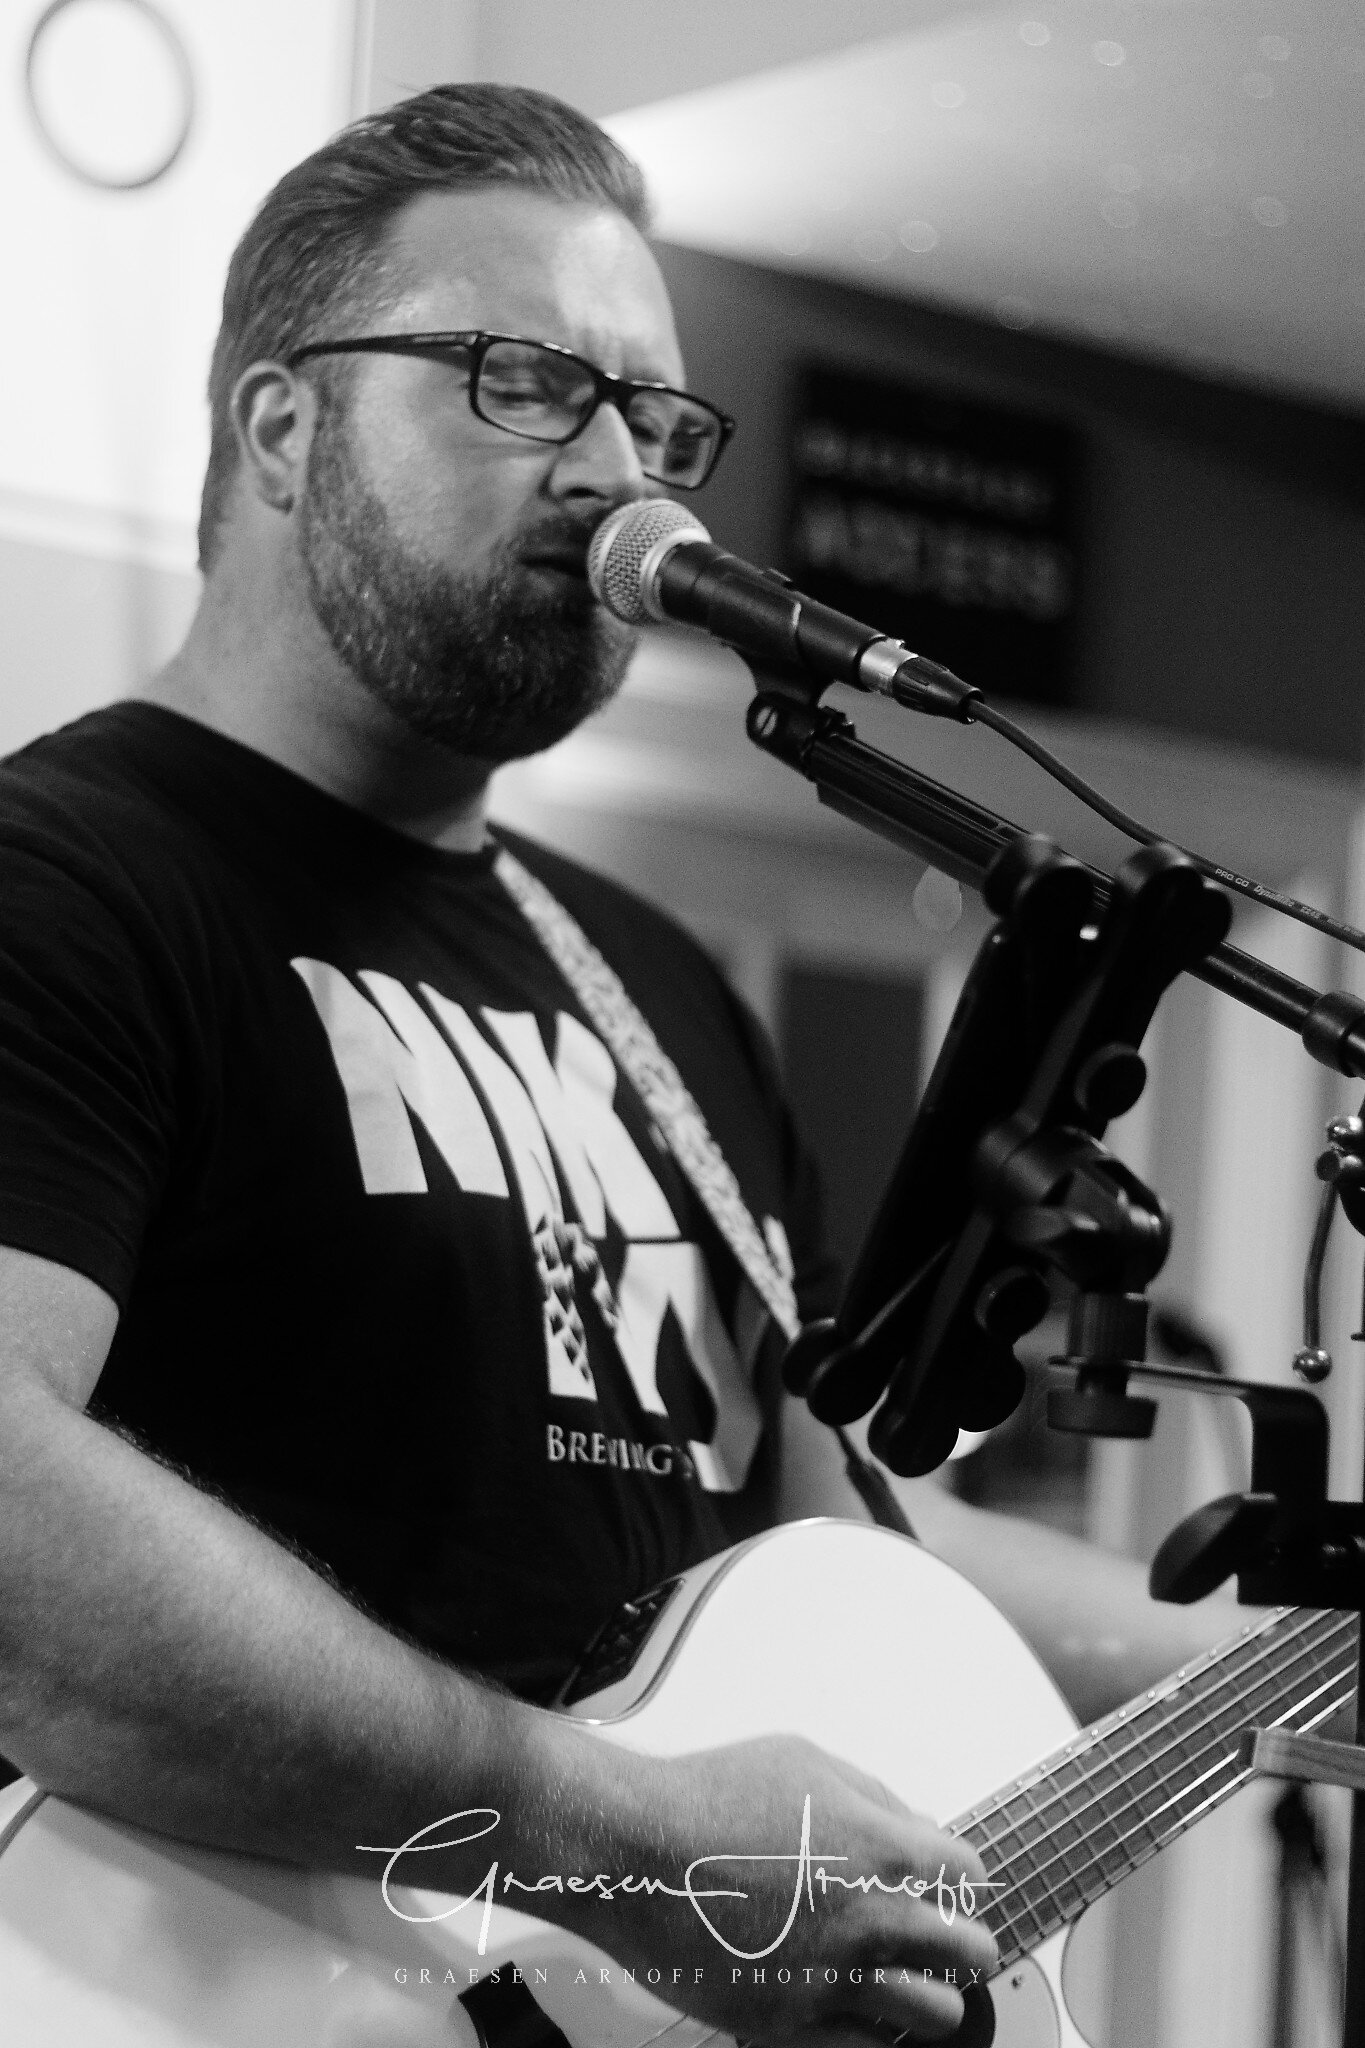
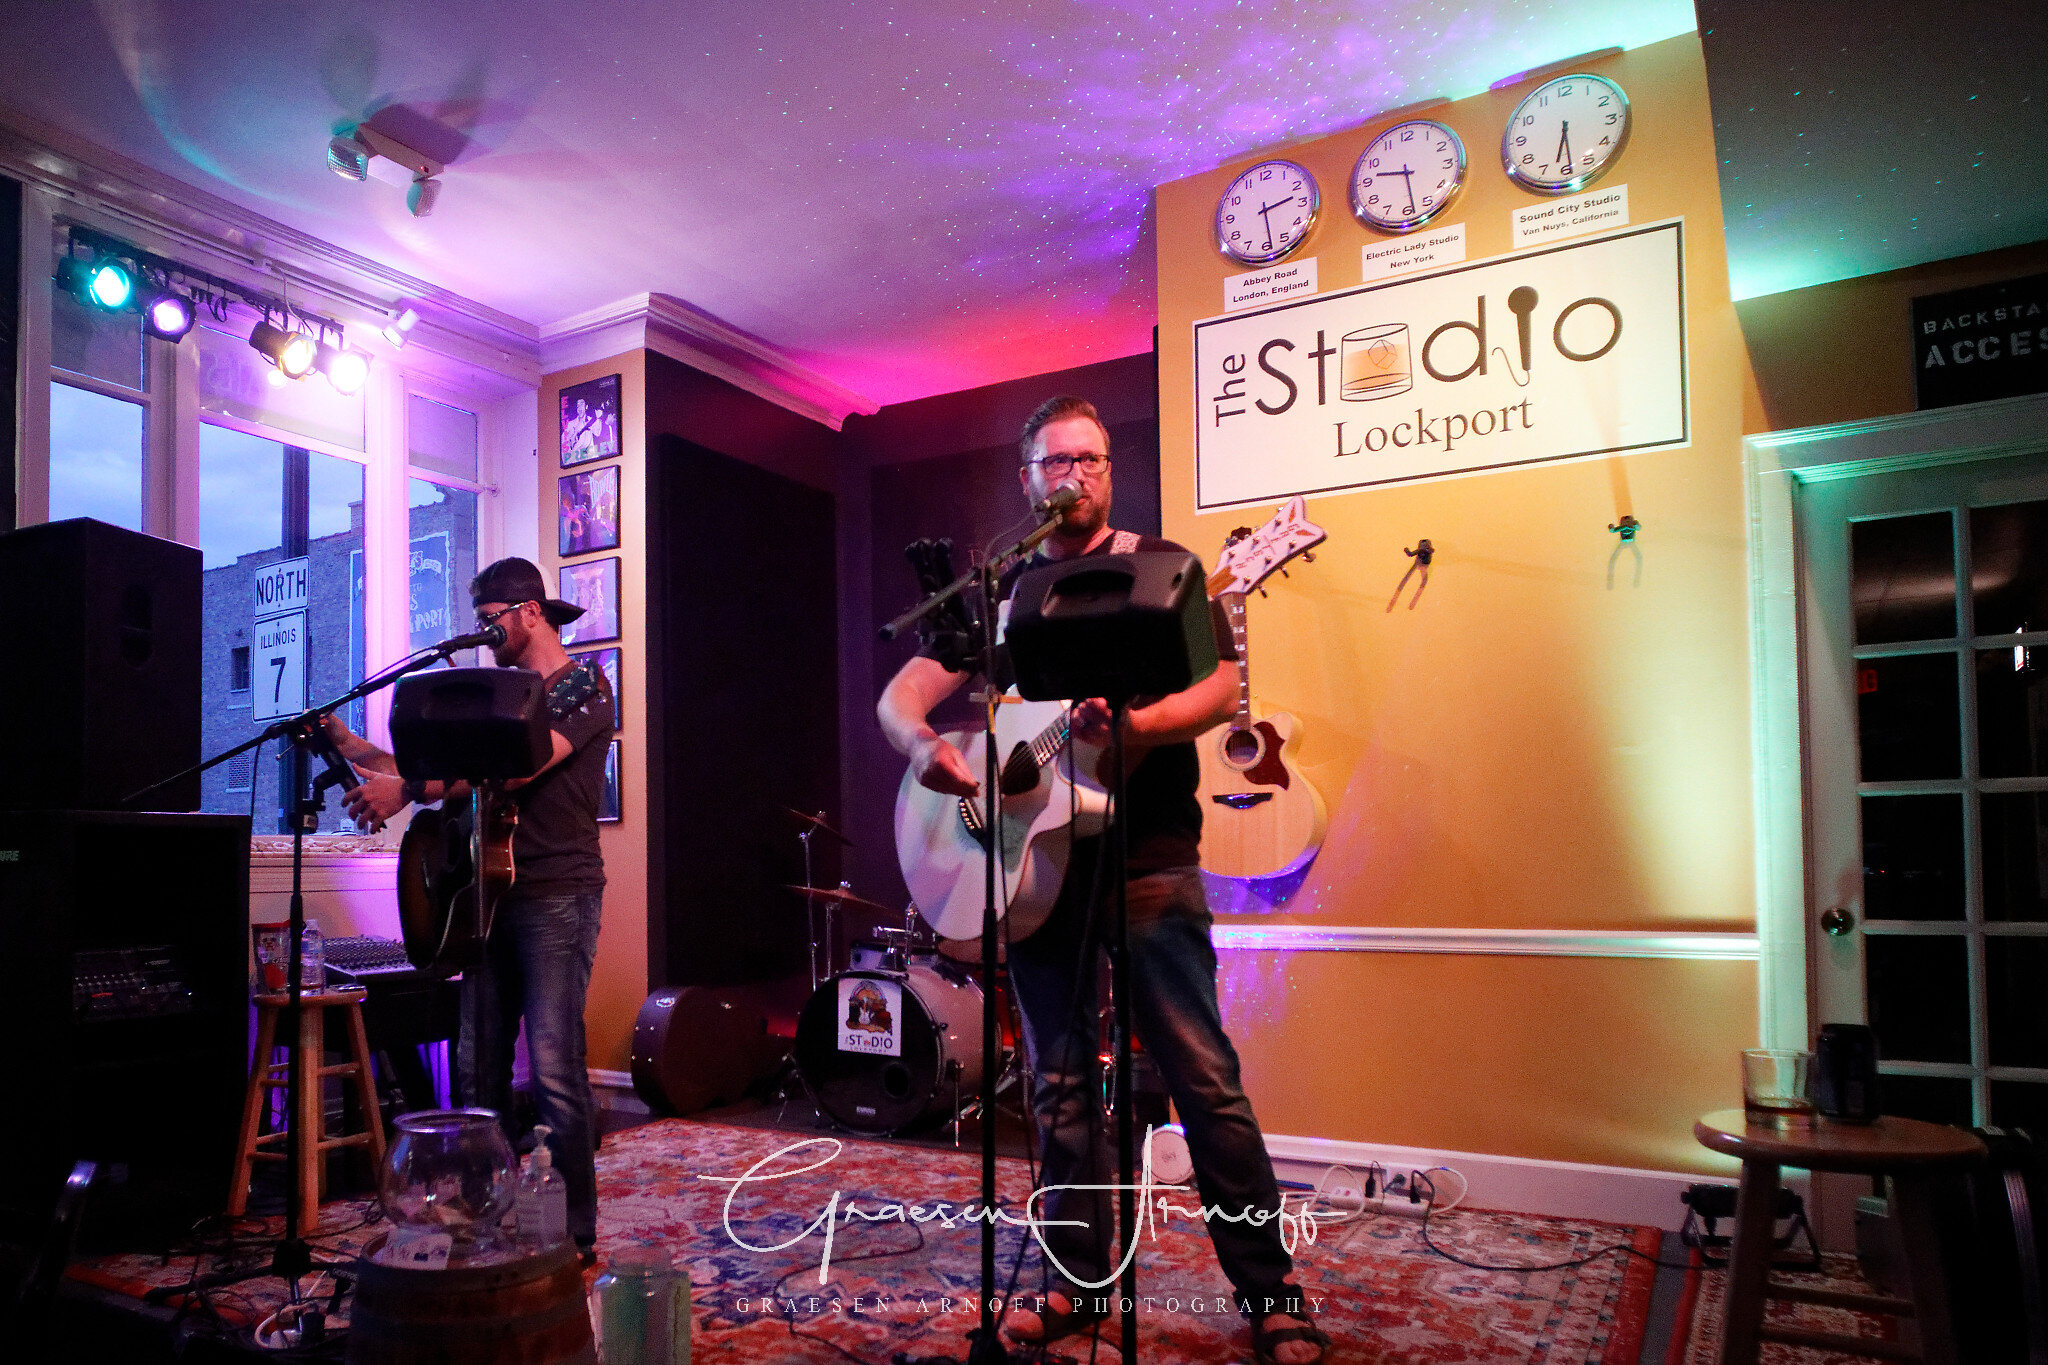
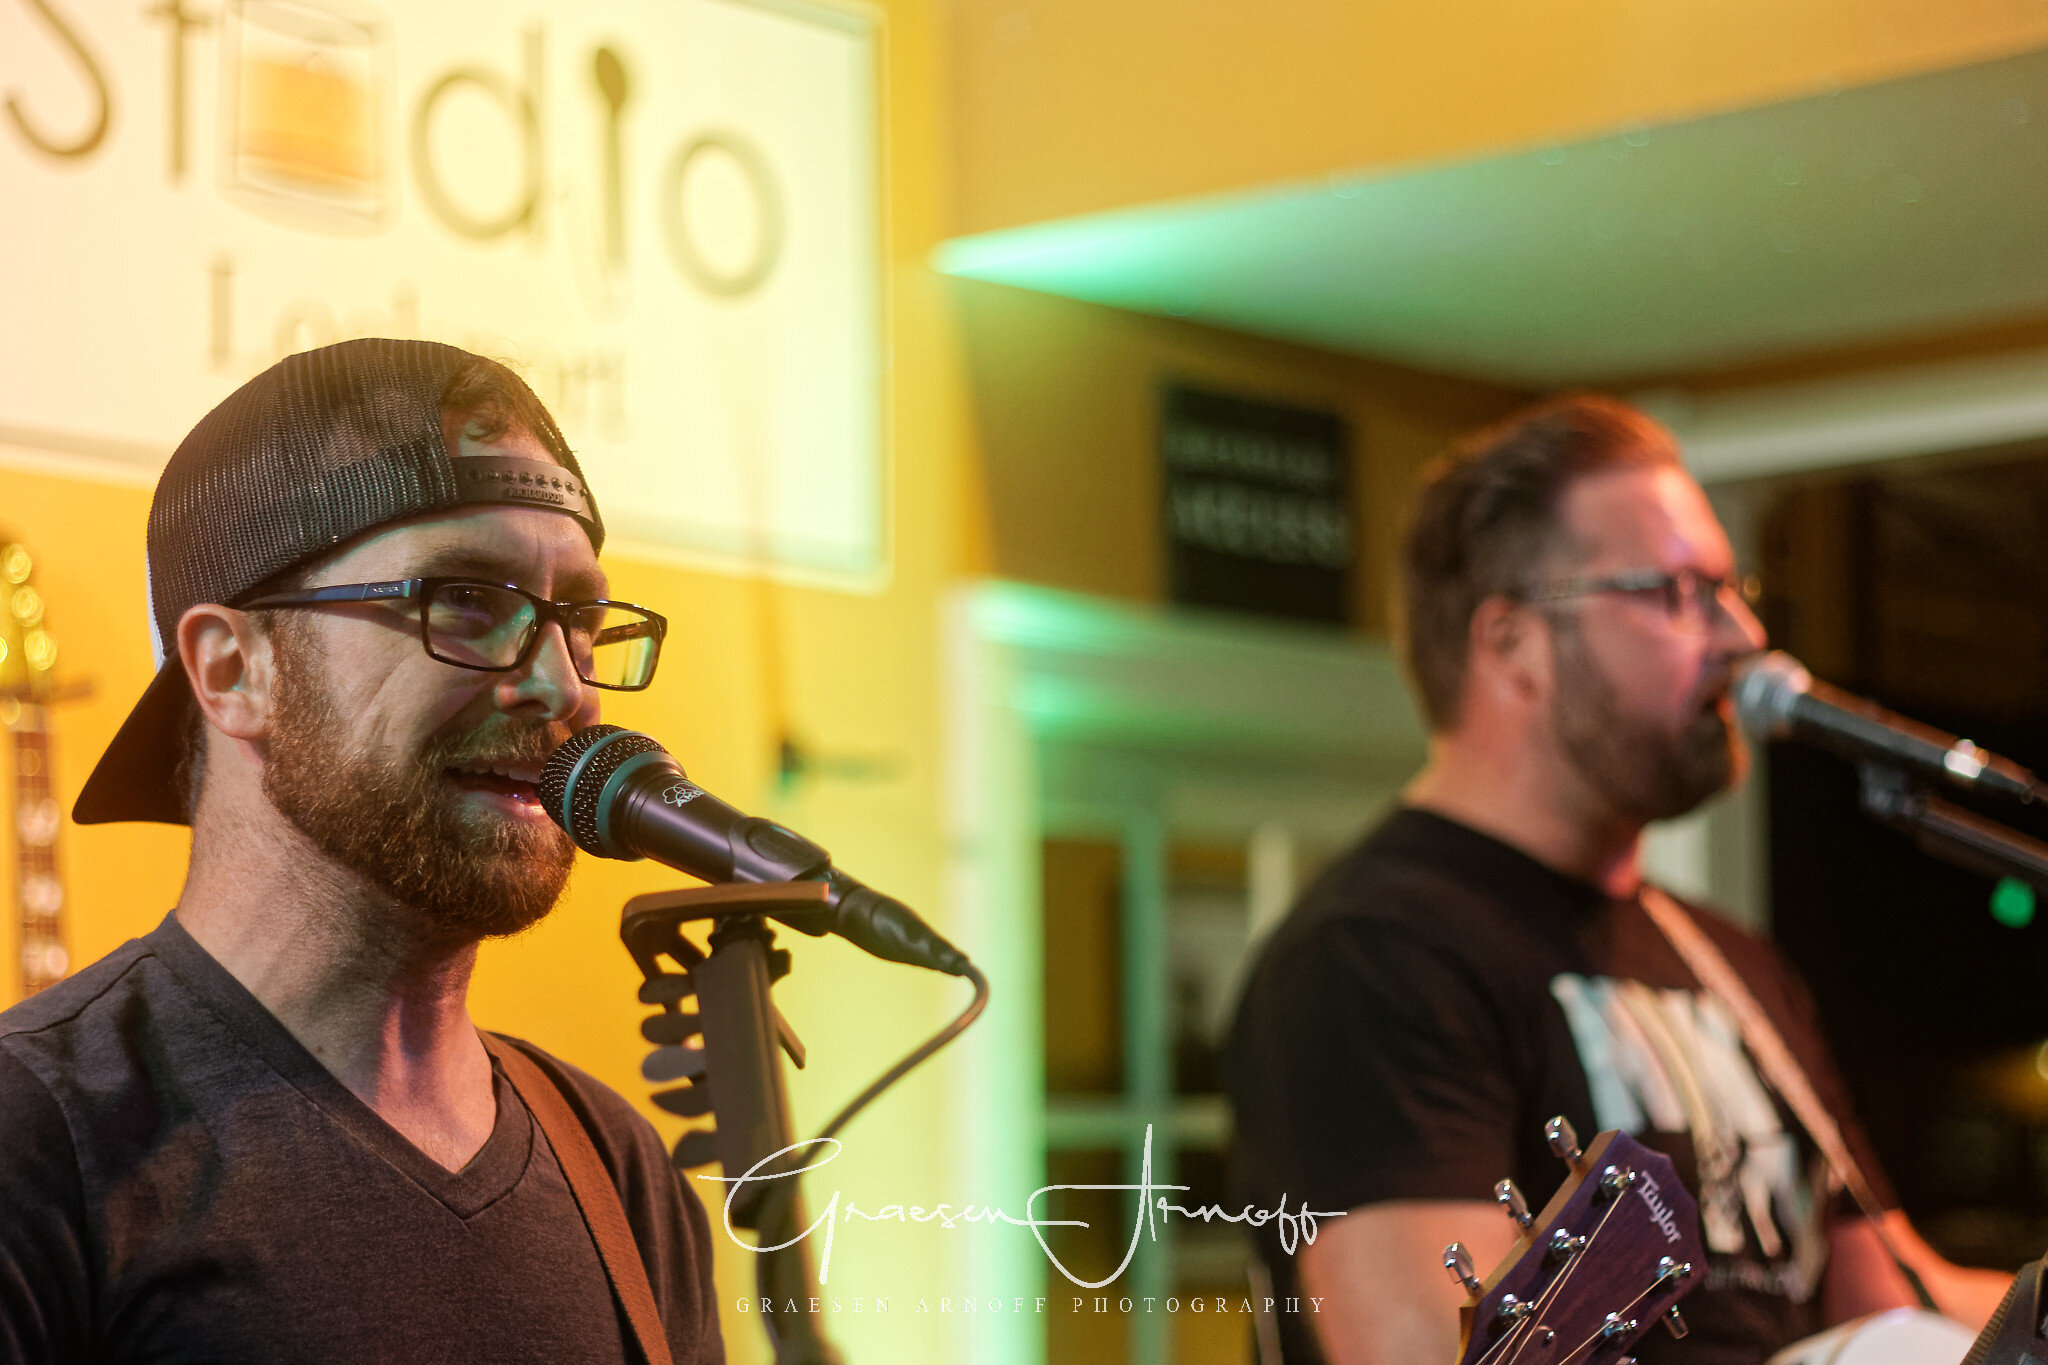
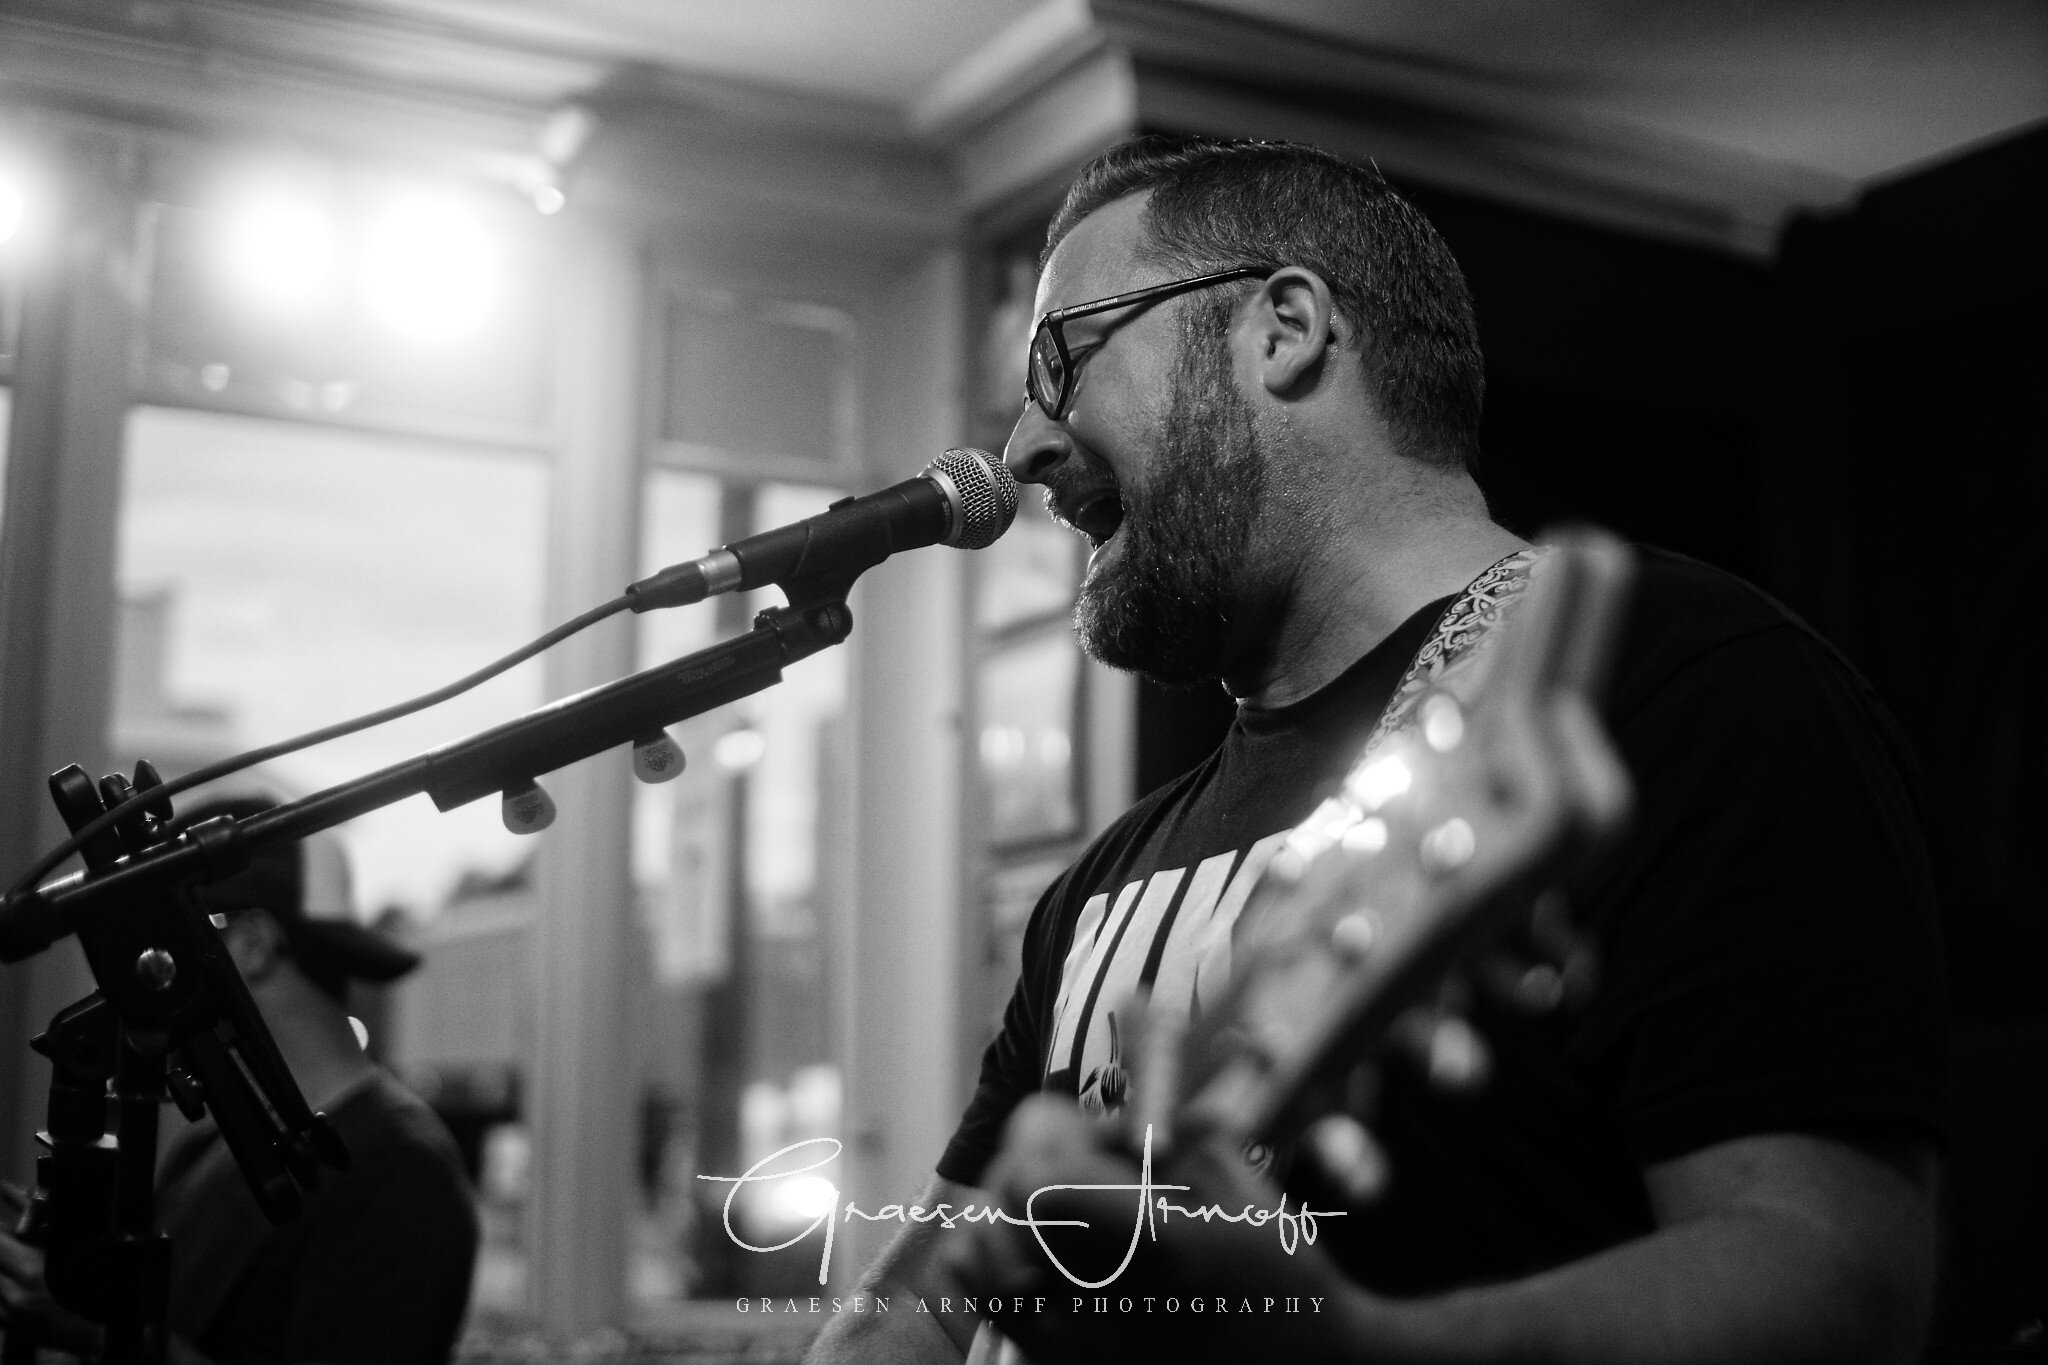
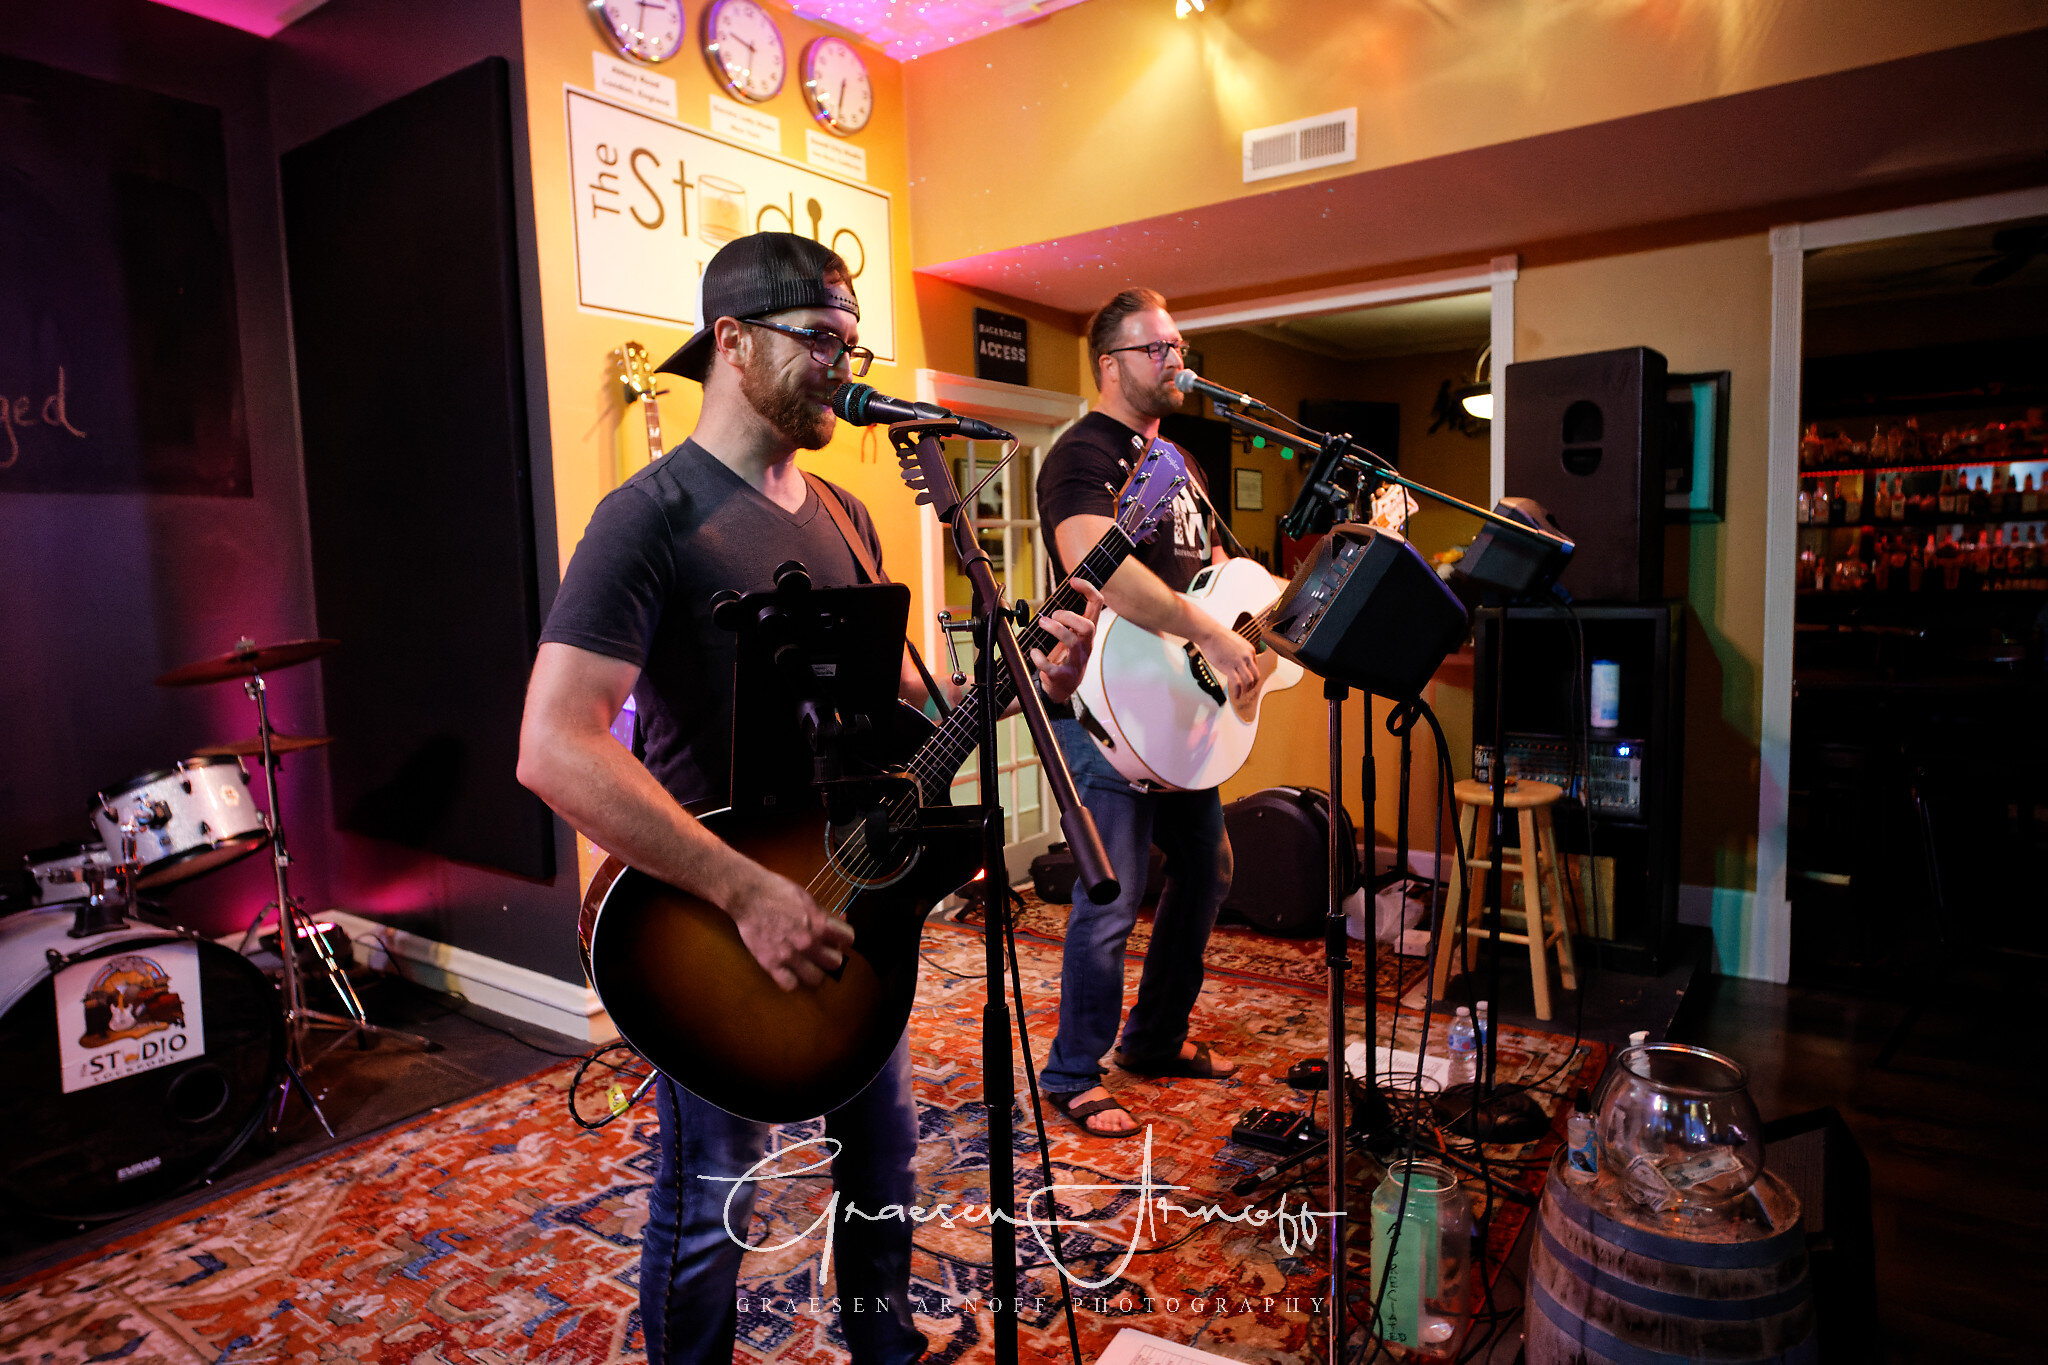
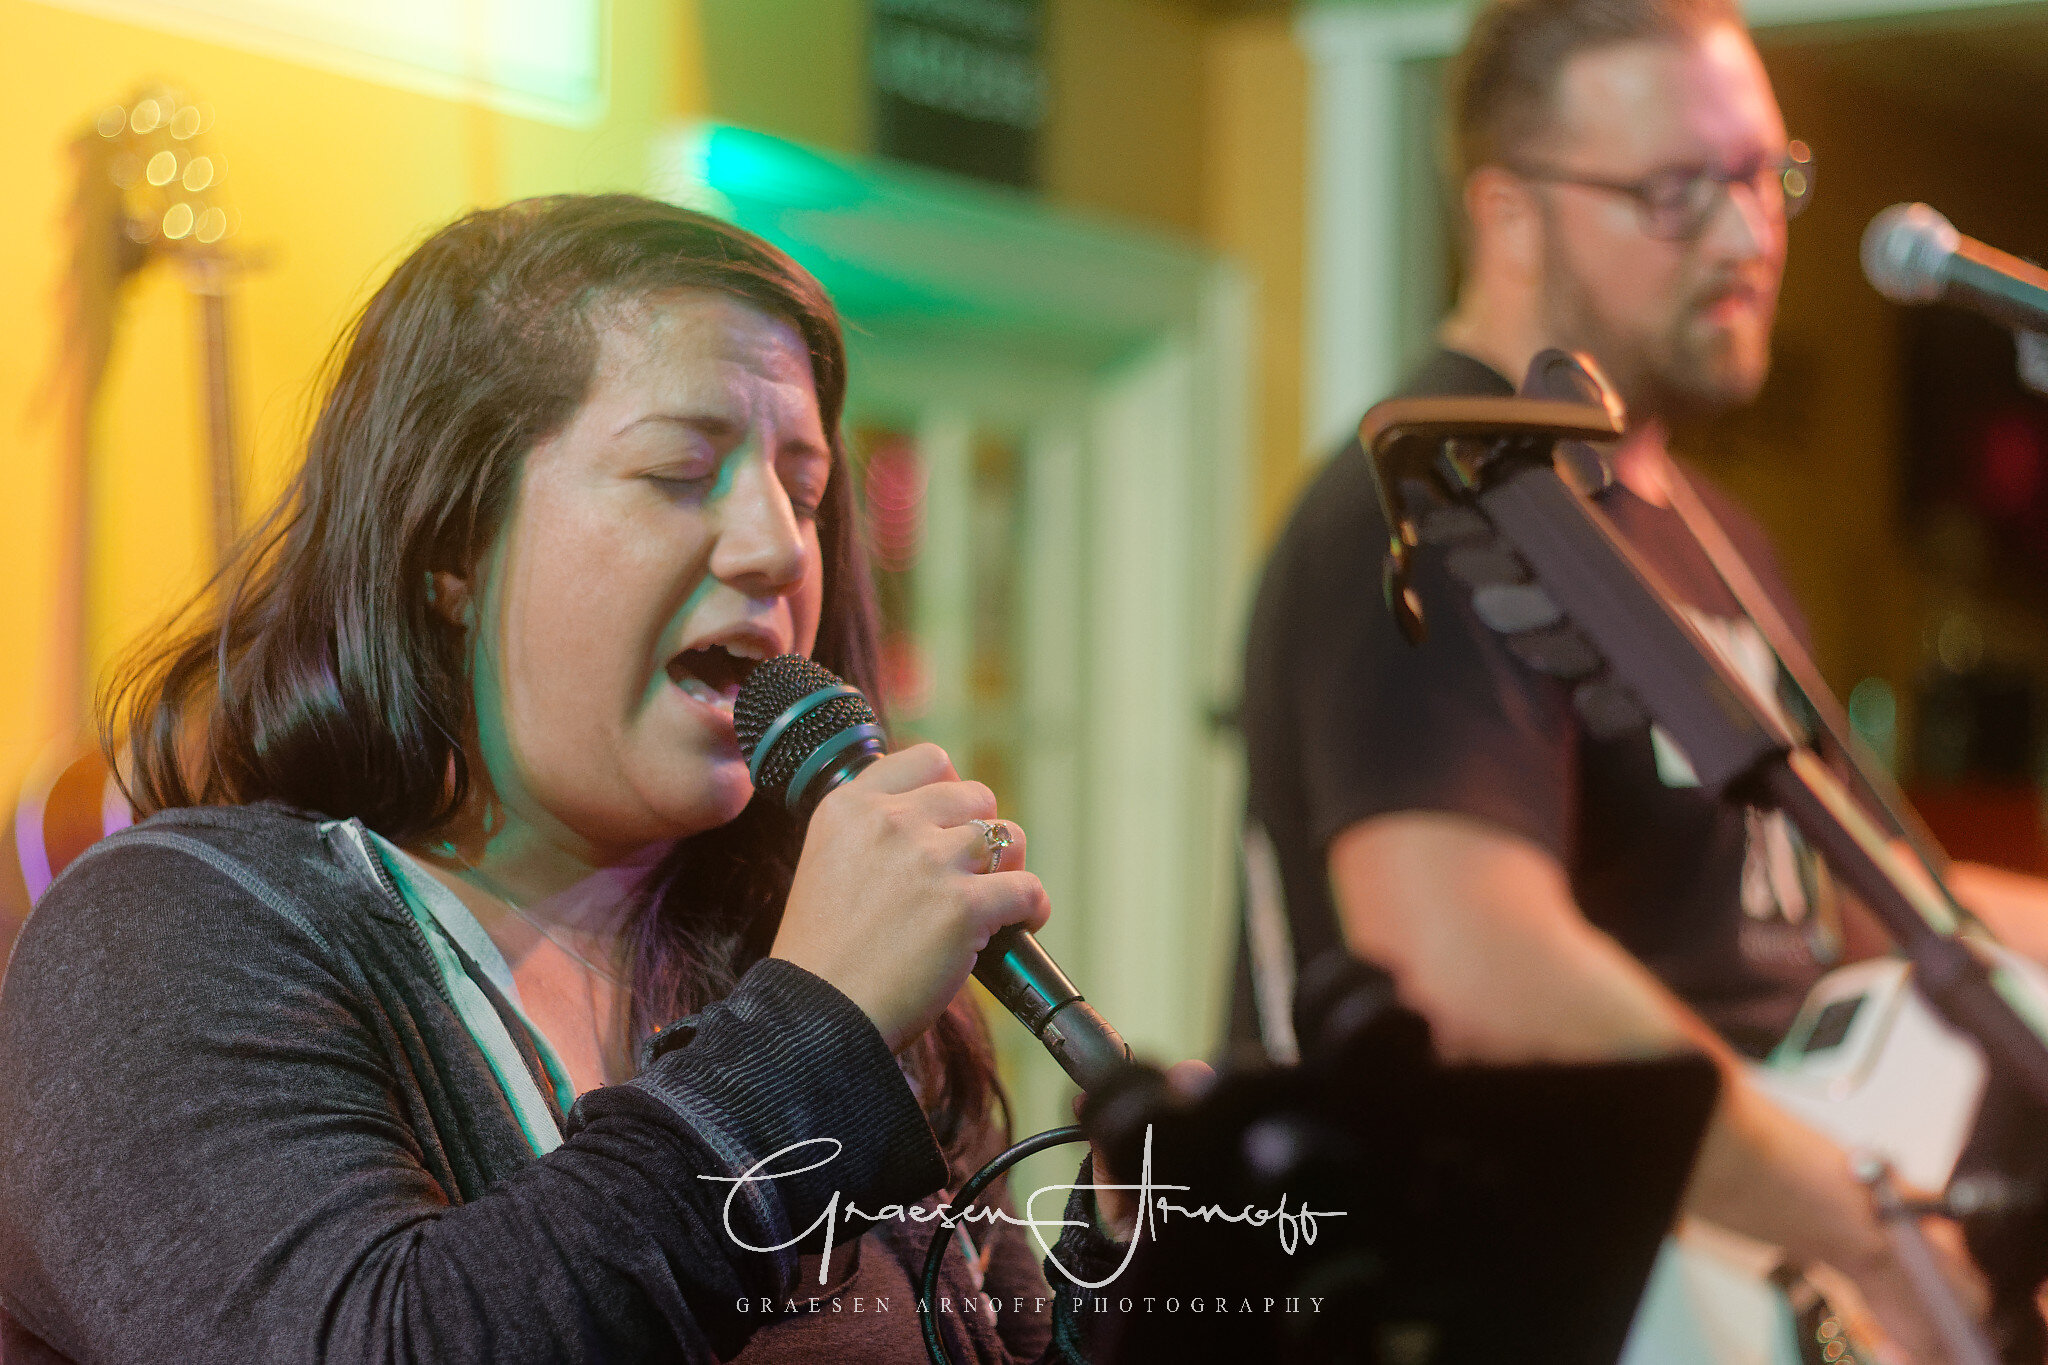
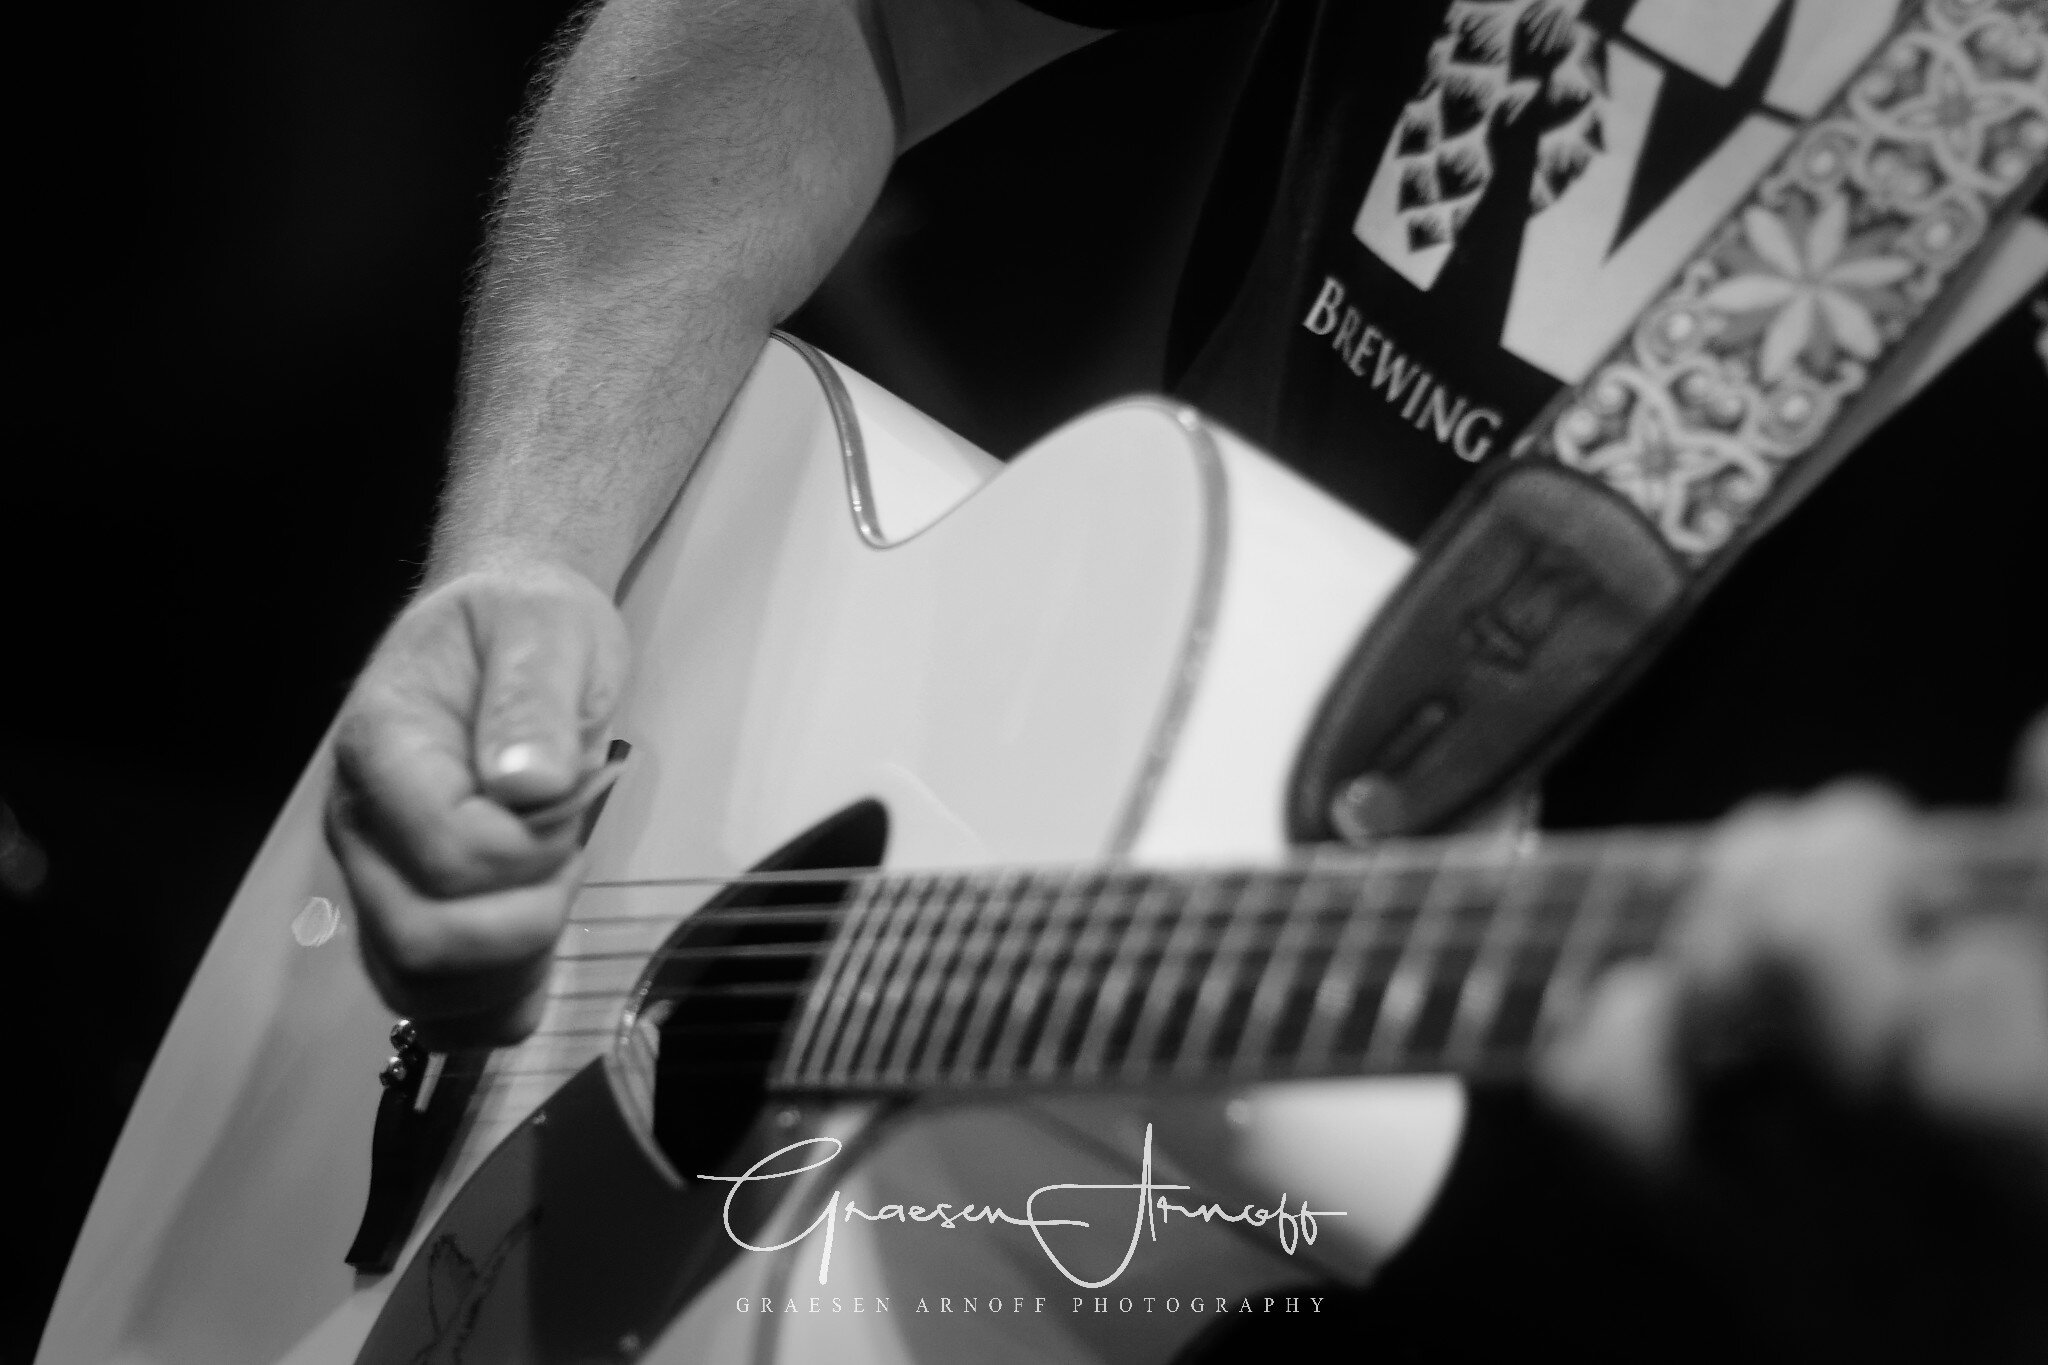
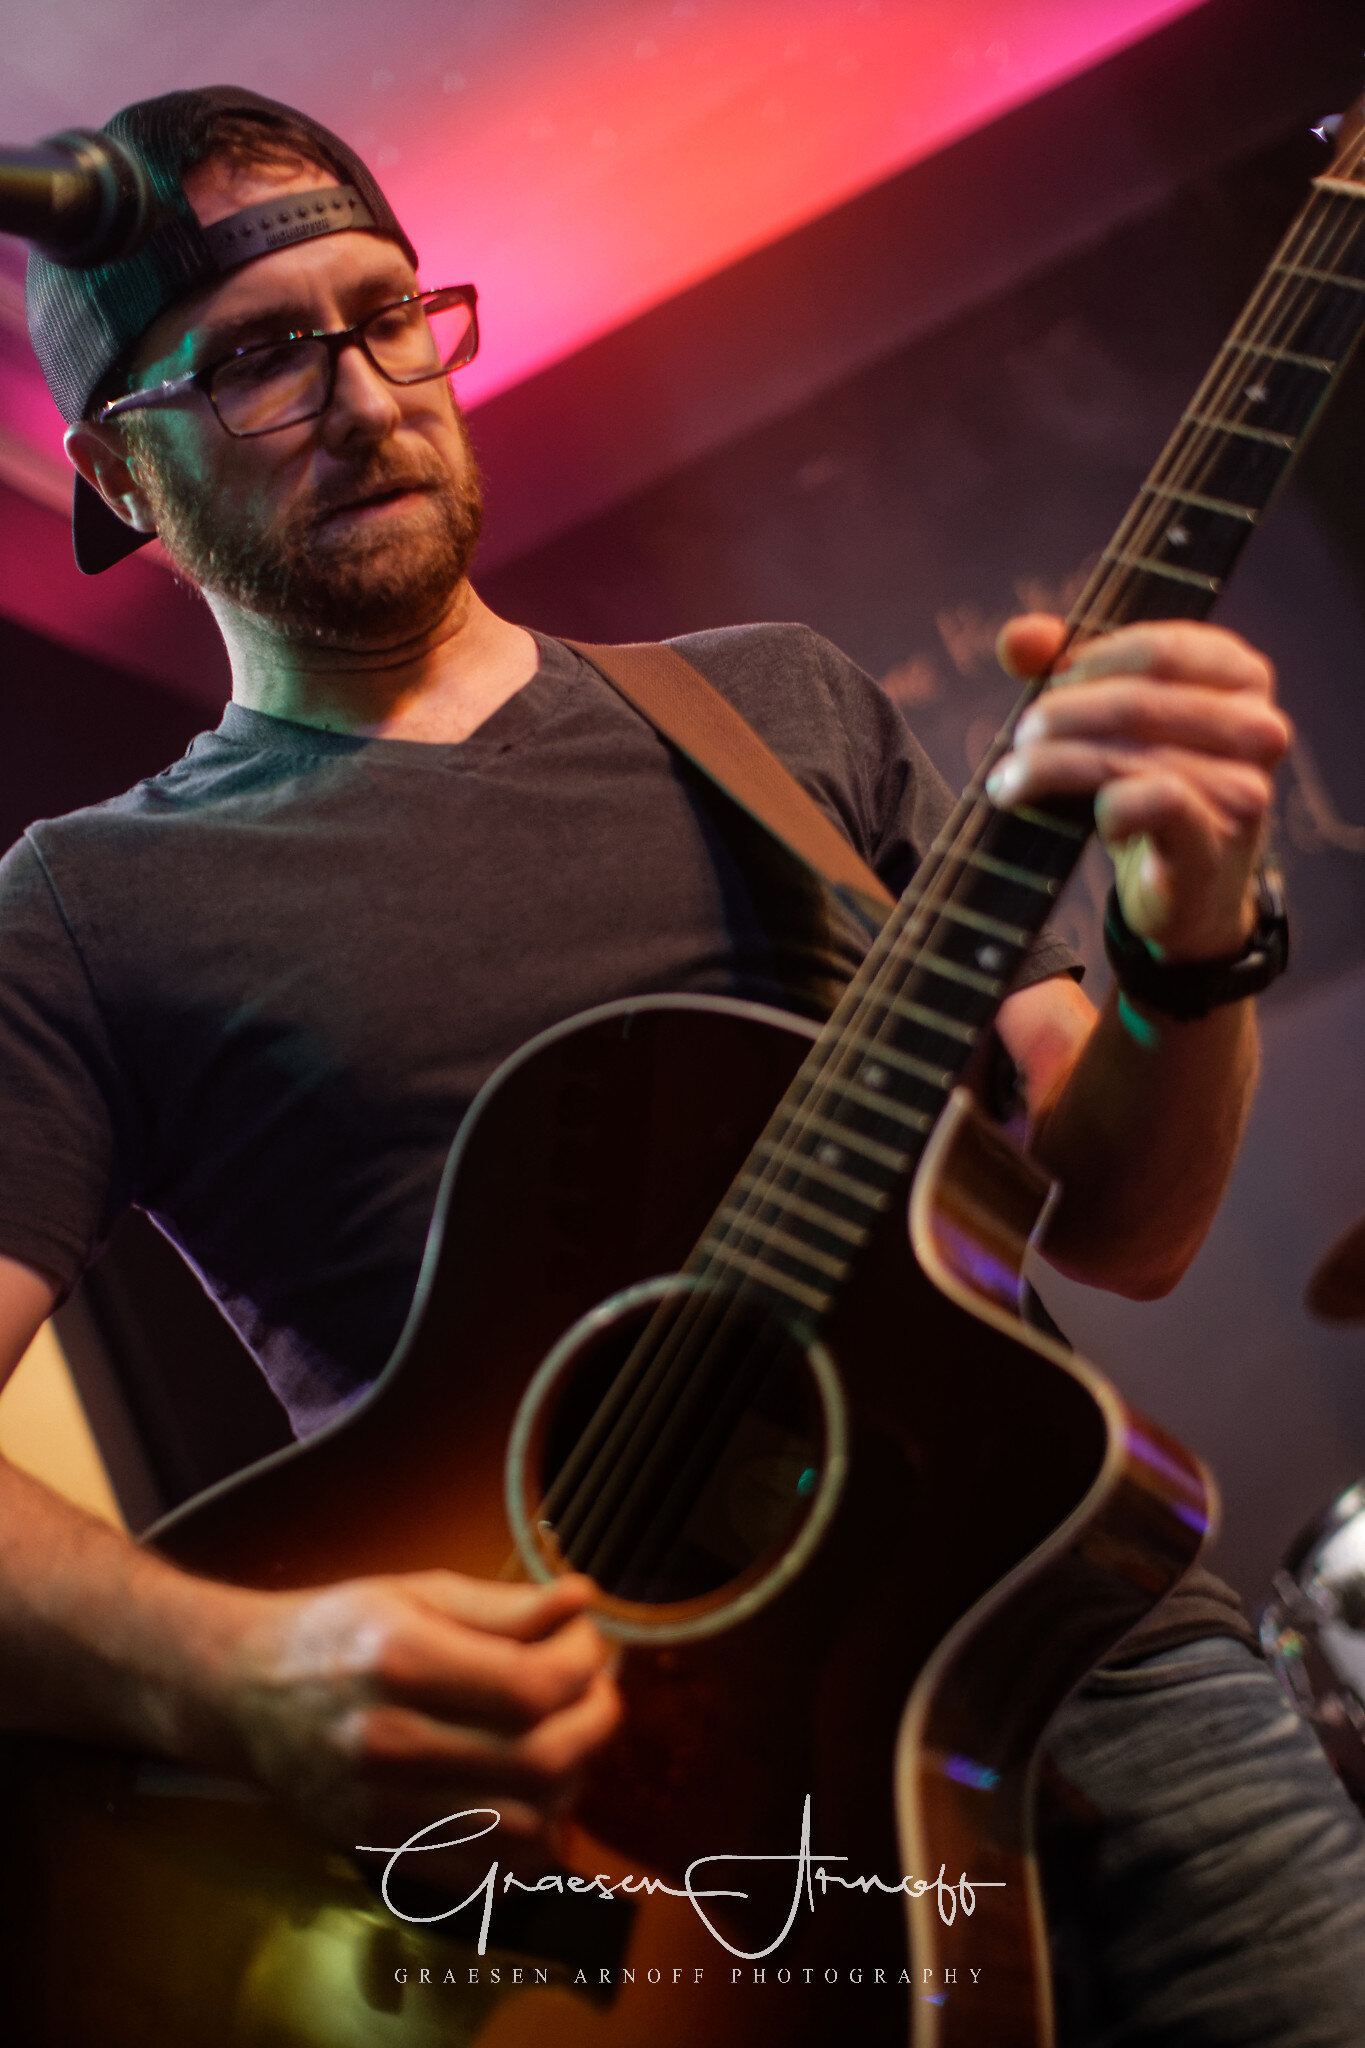
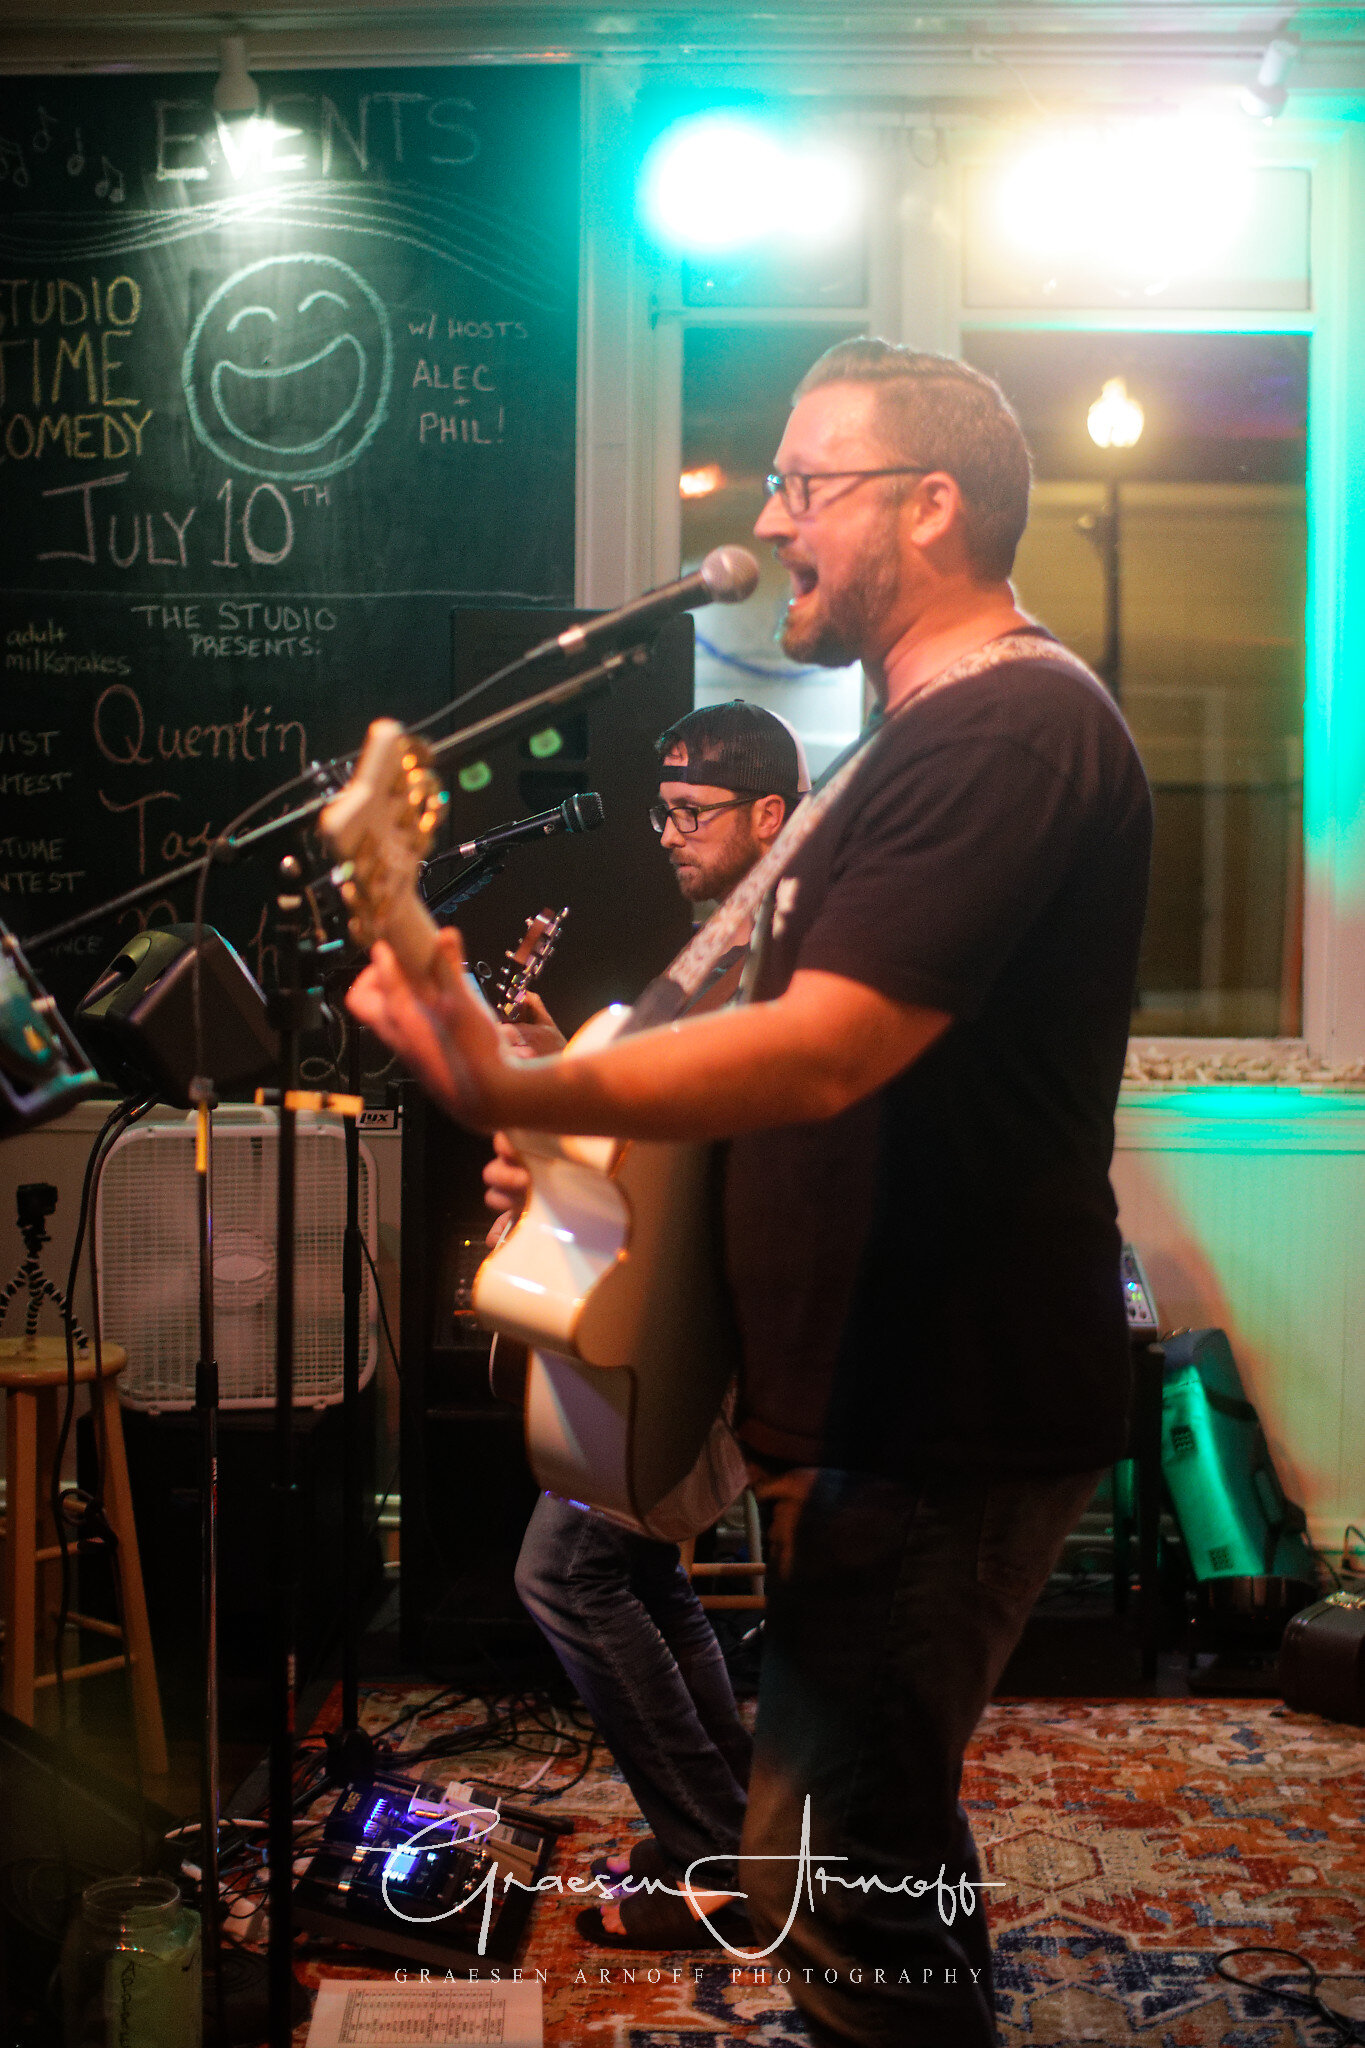
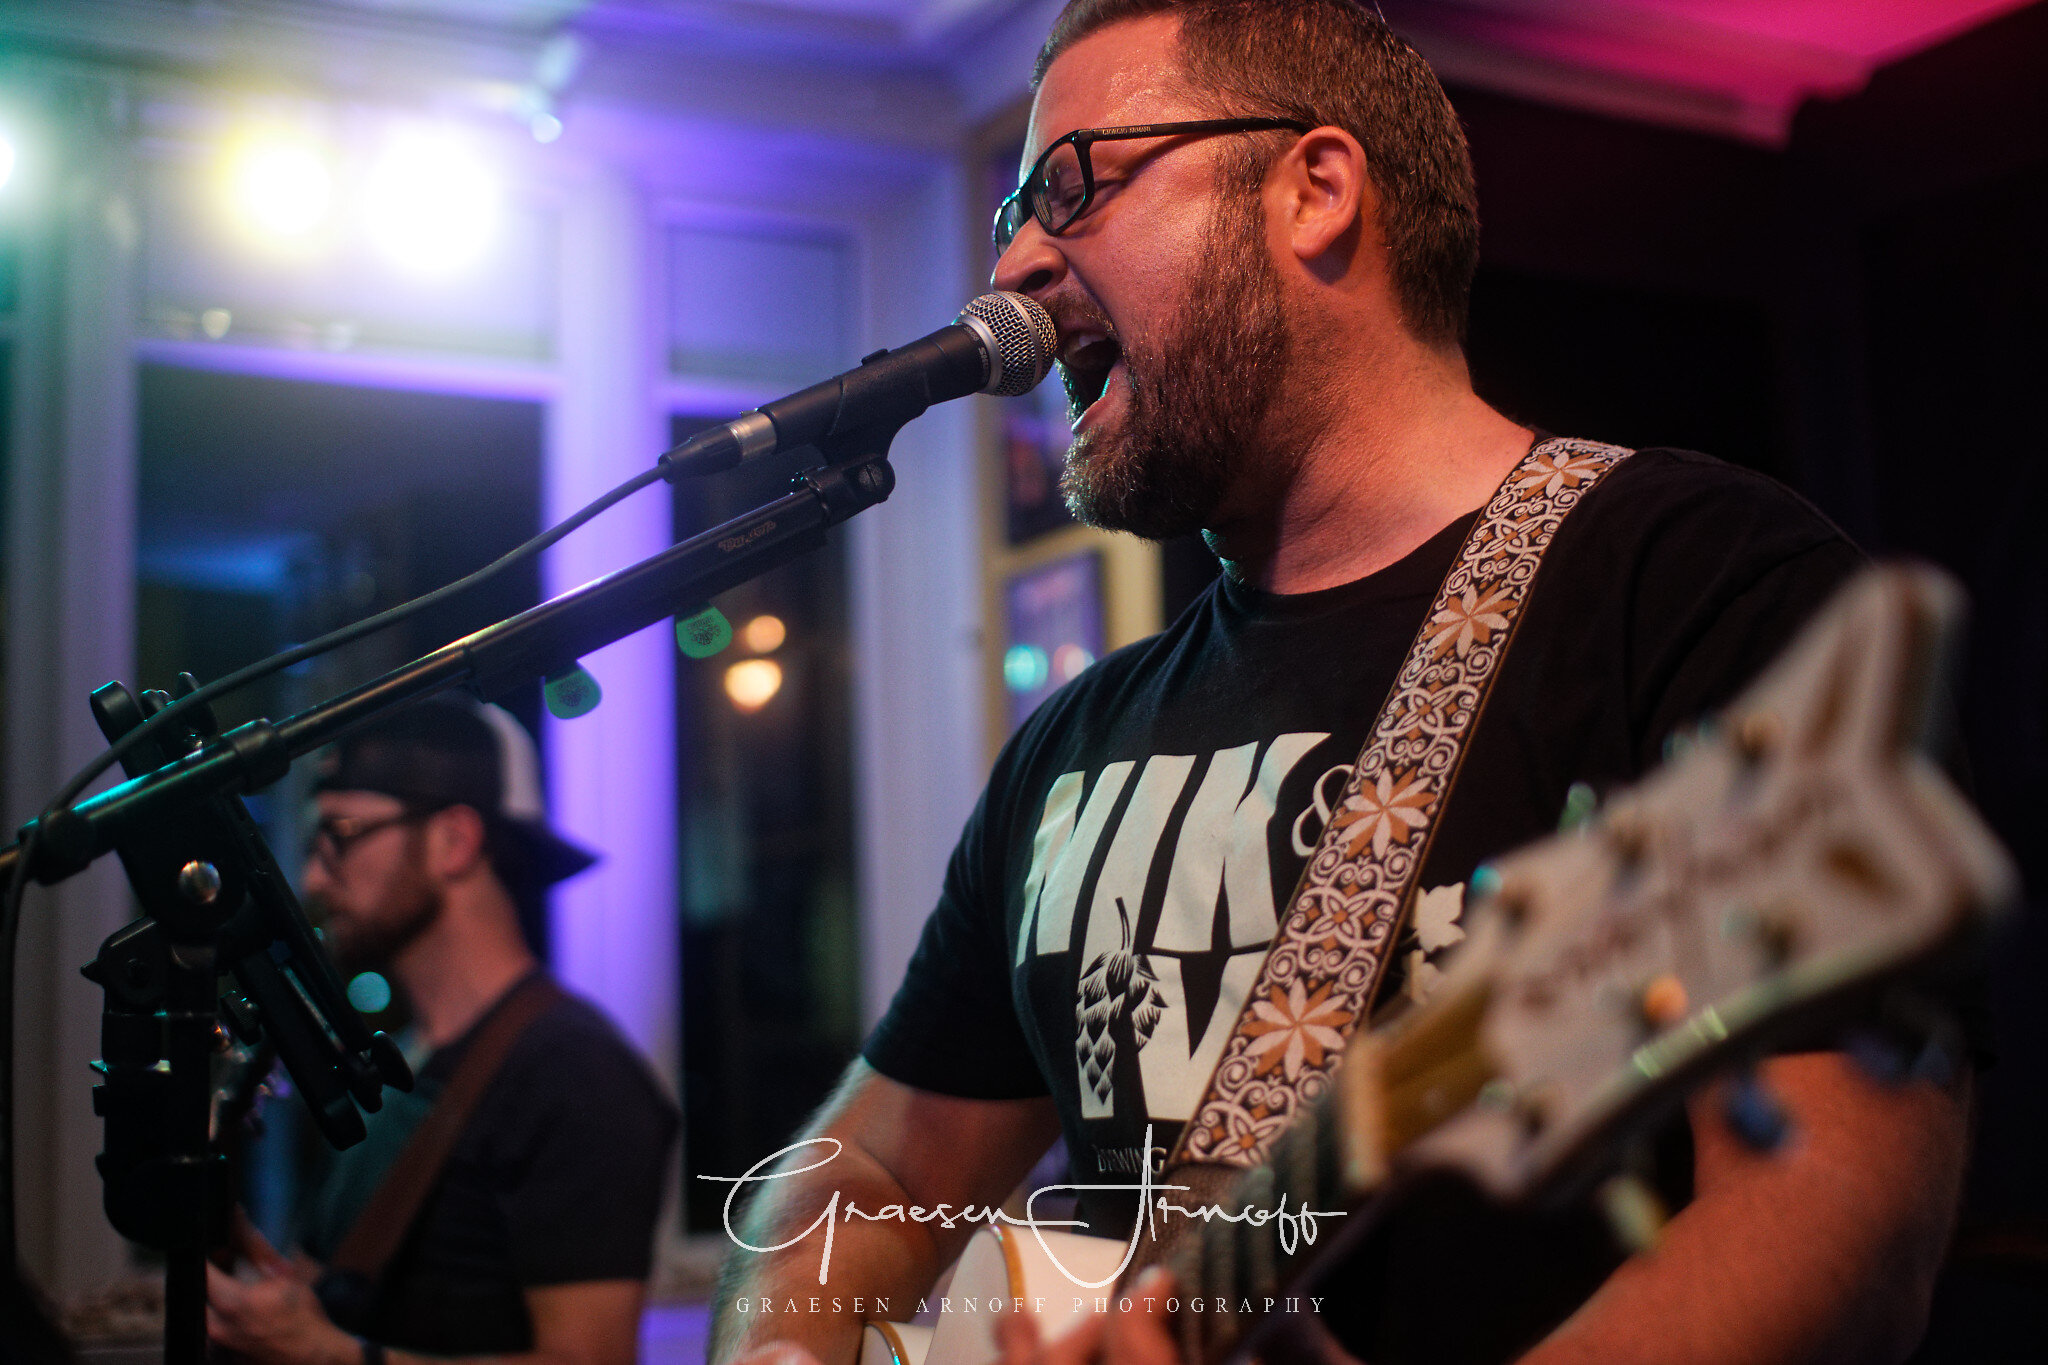
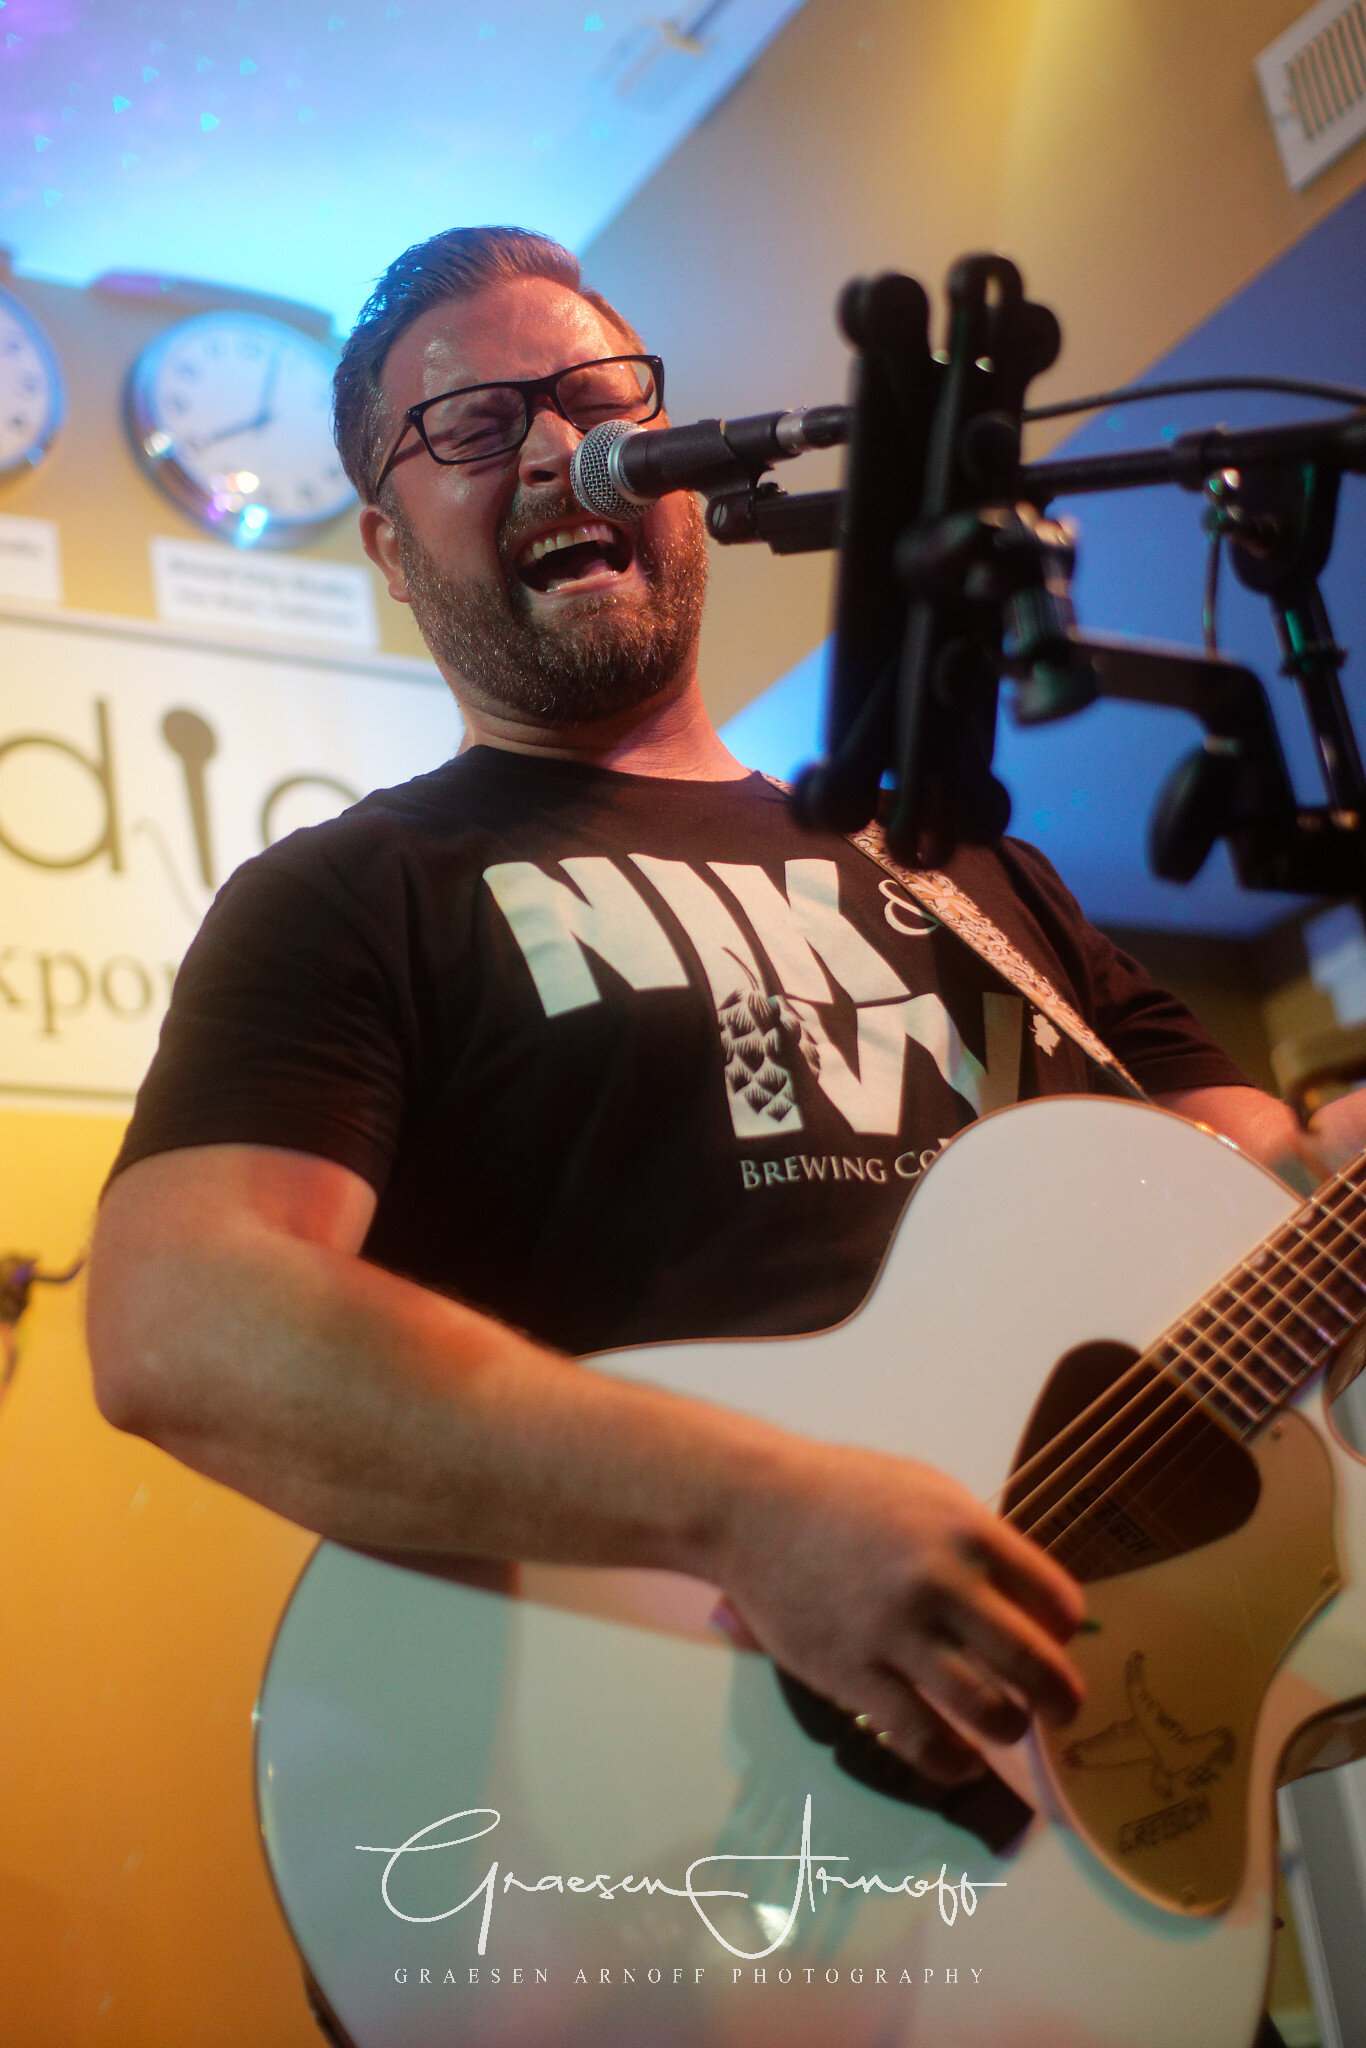
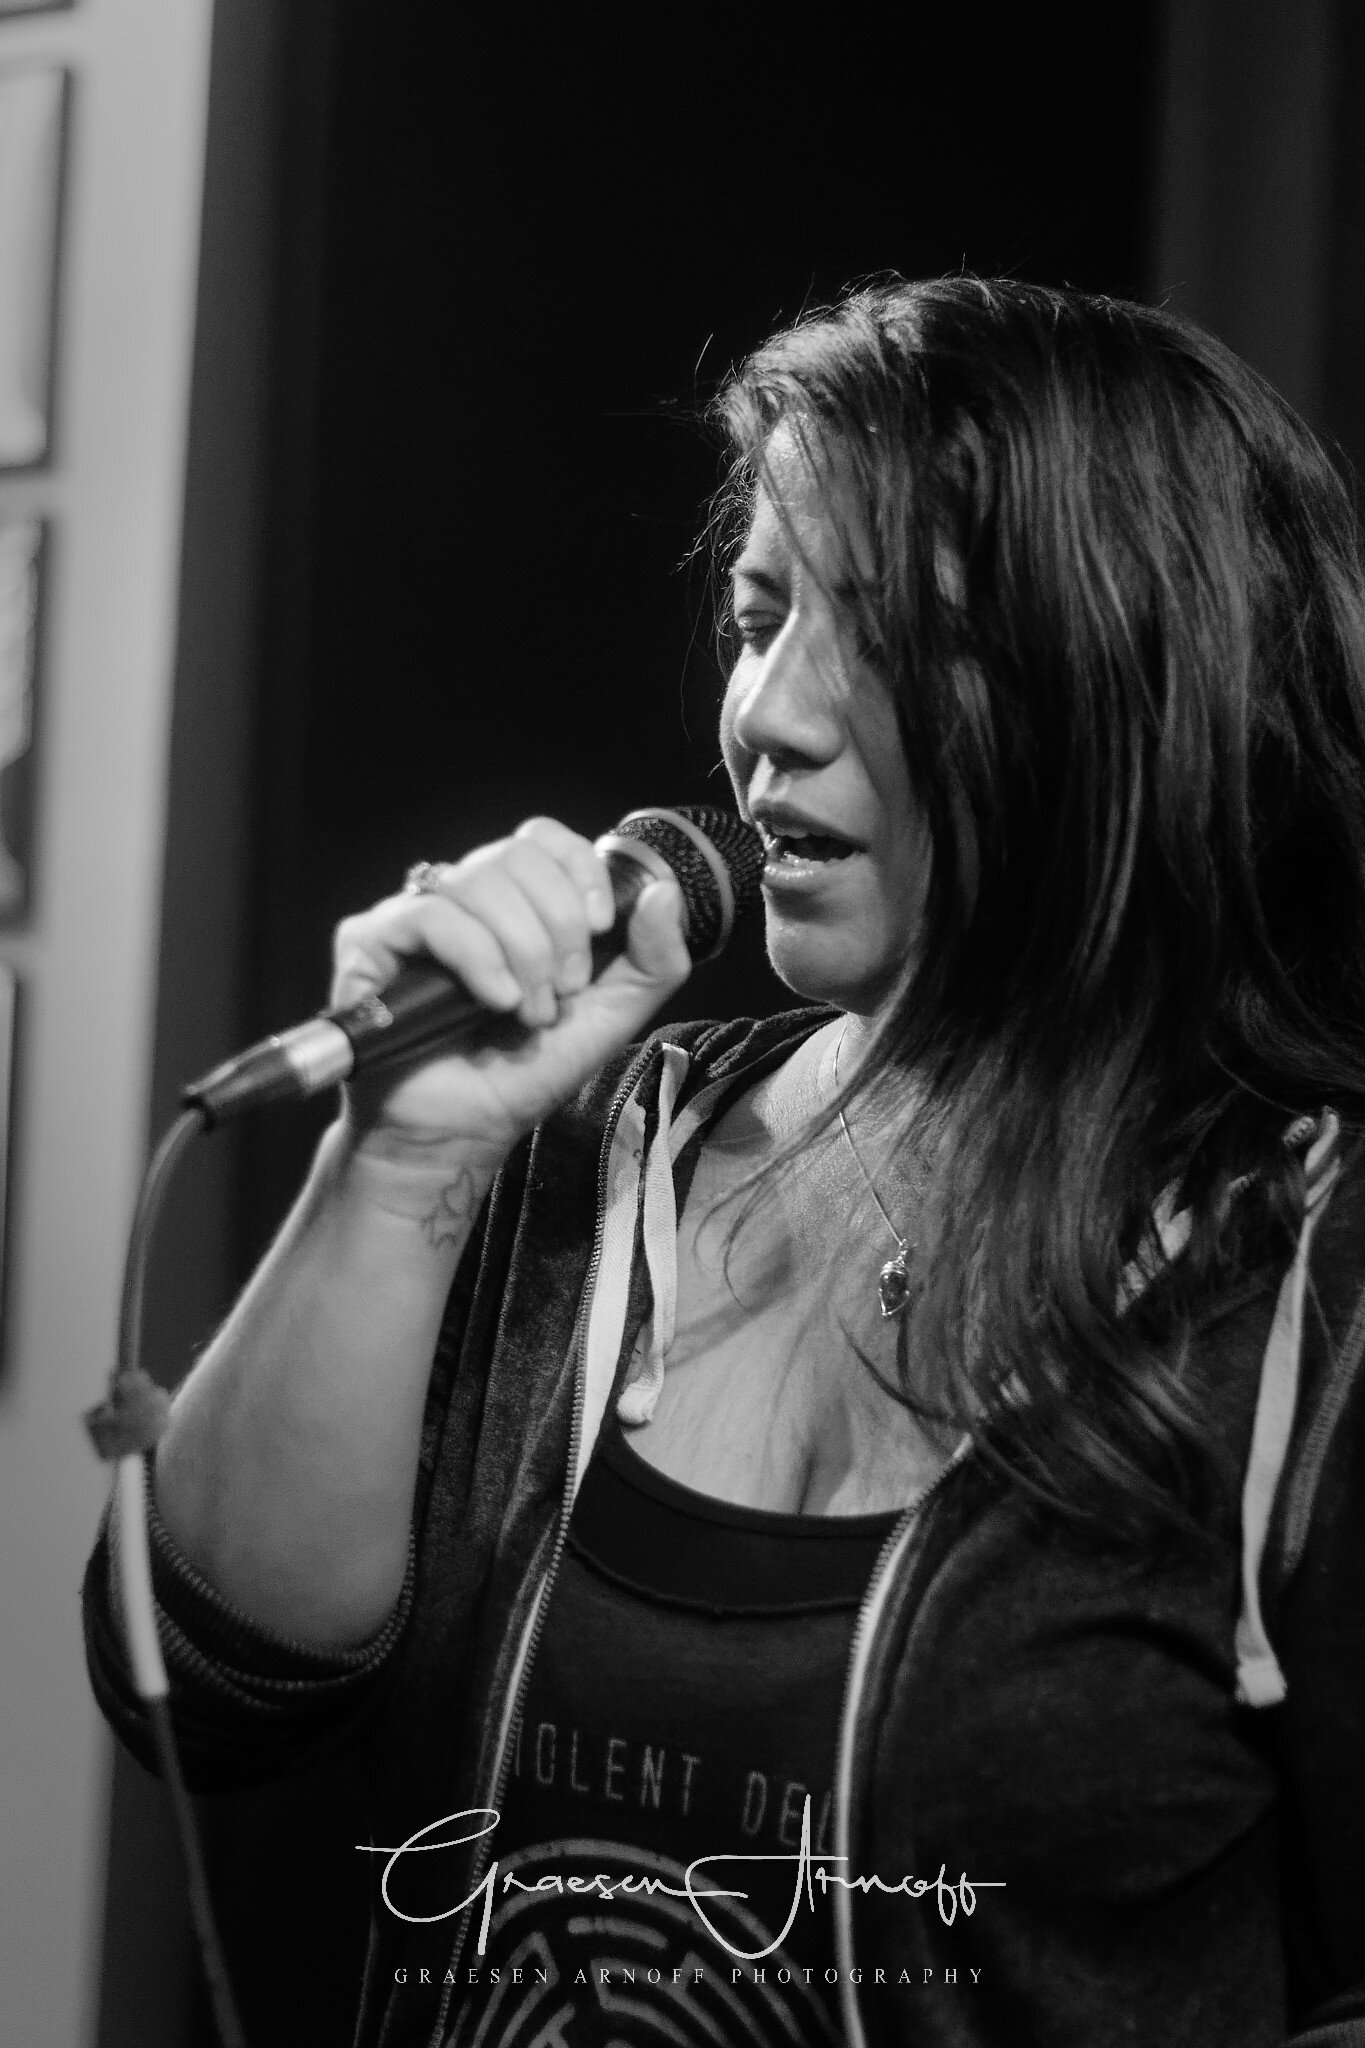
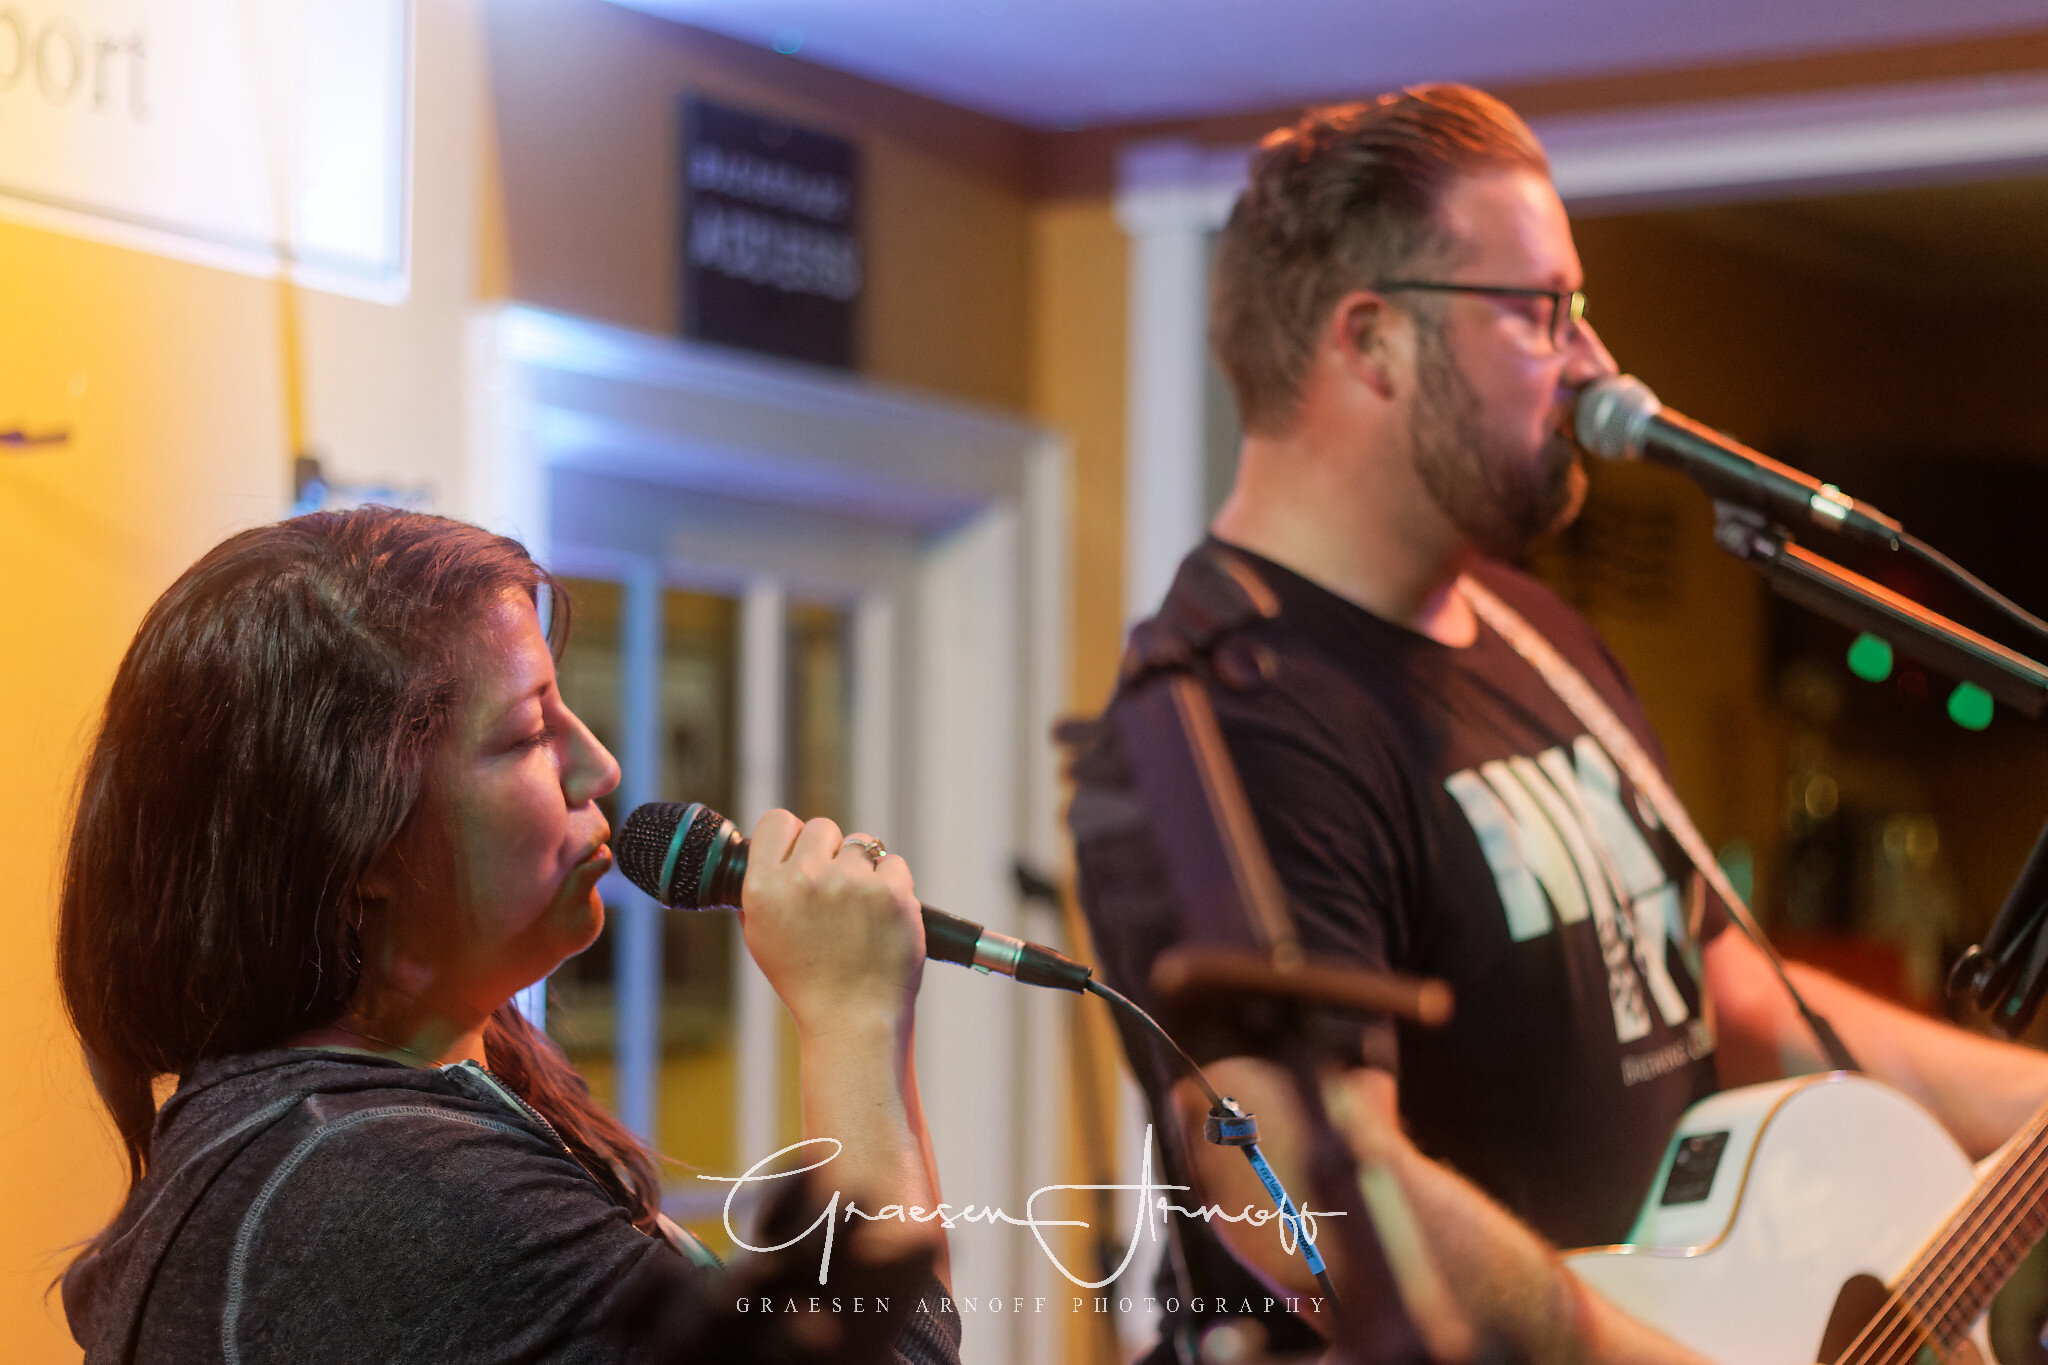
This weekend, I shot some photos of the Chicago area local bands Daytime Hooker and Grunge County, both featuring the amazing Dave Gibson and Dan Nissen. Grunge County plays ‘90s grunge and alternative rock while Daytime Hooker plays original music. I shot the photos more for myself, but the bar (The Studio) and musicians enjoyed my work as well. You see, I absolutely love shooting live music more than shooting anything else. Frankly, I haven’t shot a live show in about 2 years. I also have some new gear I’ve never used in a live show before, so this was my chance to try it out.
Previously, I shot with a Canon 7D Mark II. This is a beast of a camera and built like a tank! However, what I shoot had begun to change and I didn’t need such a capable camera. I wanted to downsize to a small form camera. I moved to a Canon M5. I wanted to see if anyone else may have used my camera for concert pics before but didn’t find a lot on the web. So I tried to search for concert photos taken with the more popular Canon M50. I still found little, but what I did find was concerning. Most people using their M50s for live music wasn’t using it the best way they could, which is why I am writing this — to share some tips I learned and show that these cameras are capable.
My DSLR technique (old technique)
When I shoot a concert, I either shoot in Shutter Priority or full manual, but I keep ISO set to auto. The reason being is because I want to control how much motion blur there is. By setting the shutter speed, I can be in full control over how much blur there will be from movement. I aim for shutter speed of 1/200 or 1/160, and adjust up or down as necessary. This allows for enough light to get a proper exposure while limiting motion blur. If kept at automatic shutter speed, most cameras might prefer something closer to 1/60, which would make it difficult to capture clear photos.
With most venues, even using Shutter Priority, the aperture is usually defaulted to it’s widest setting due to the low light environment. The reason I like letting it change is to account for changing stage lighting. If it’s too bright and the lens is wide open, it can blow out the image. In theory, the ISO should compensate for this just fine, but I prefer not to take a chance. However, if I find that the depth of field is too narrow, which is affected by the aperture being wide open, I will shoot full manual and set a narrower aperture to stay in control of the DoF. With auto ISO, the camera is still able to compensate for changing light.
Because the stage lighting can be so different from the lighting on the musicians, I also set my metering to spot metering, which calculates exposure for the center of the camera. No, I don’t shoot the center of the frame, but this helps with my next step.
To work with spot metering, I also set my camera to use the center auto focus point. Now, when I point the center of the camera at what I want to photograph, like the singer’s face, I can get proper exposure and focus all at once for what I’m shooting.
As I said before, I don’t shoot the center of the frame. That’s just used for metering and focus. Instead, once I lock focus and exposure, I recompose the shot and snap my photo. This technique is called “focus and recompose.” This let’s me get perfect focus and exposure, then reframe my shot to how I’d normally compose the shot.
Learning experience with mirrorless
Unfortunately, trying this technique with my Canon M5 (which would be similar to the M50, M6, or any M series or R series camera, likely any mirrorless body from Sony, Fuji, Olympus, Panasonic, etc.), I struggled with the center AF point and focus and recompose part of my technique. But this is user error, not a problem with the camera. I’m sharing this because I hope it would be helpful to others venturing in a similar type of shoot with a similar camera.
The problem is that I generally keep the camera set to face tracking and forgot about the modes to use single AF points or zones. With face tracking, the camera looks for faces and focuses on those rather than other things in the scene. Tapping the screen to select an AF (auto focus) point doesn’t necessarily select an AF point in this mode. Instead, it identifies the object you selected and tracks focus on it. All of this makes focus and recompose impossible. When I tapped the center, it wasn’t focusing on the center. It was focusing on whatever object was in the center when I tapped it. So if I move the camera, now it’s focusing on another side, wherever that object had moved.
Fortunately, I quickly remembered that I could drag my thumb across the screen to move the focus point while looking through the viewfinder. It was slightly slower than when I use focus and recompose, but it worked. I should also note that face detection did not work very well at detecting faces because of microphones and other equipment often being in the way. Certain facial expressions tended to confuse the face detection while someone was singing.
What I realized after the fact
Later, I was exploring my camera to figure out why I couldn’t select an AF point so this doesn’t happen next time. It turned out that yes, there is a focus mode that allows you to select AF points. When I had a DSLR, this wasn’t even a thought. With advanced focusing systems in mirrorless cameras, this is now something to consider. All I had to do was change the focus system to use AF points and I could have shot the same way as the DSLR I owned before.
Daytime Hooker / Grunge County @ The Studio in Lockport, IL
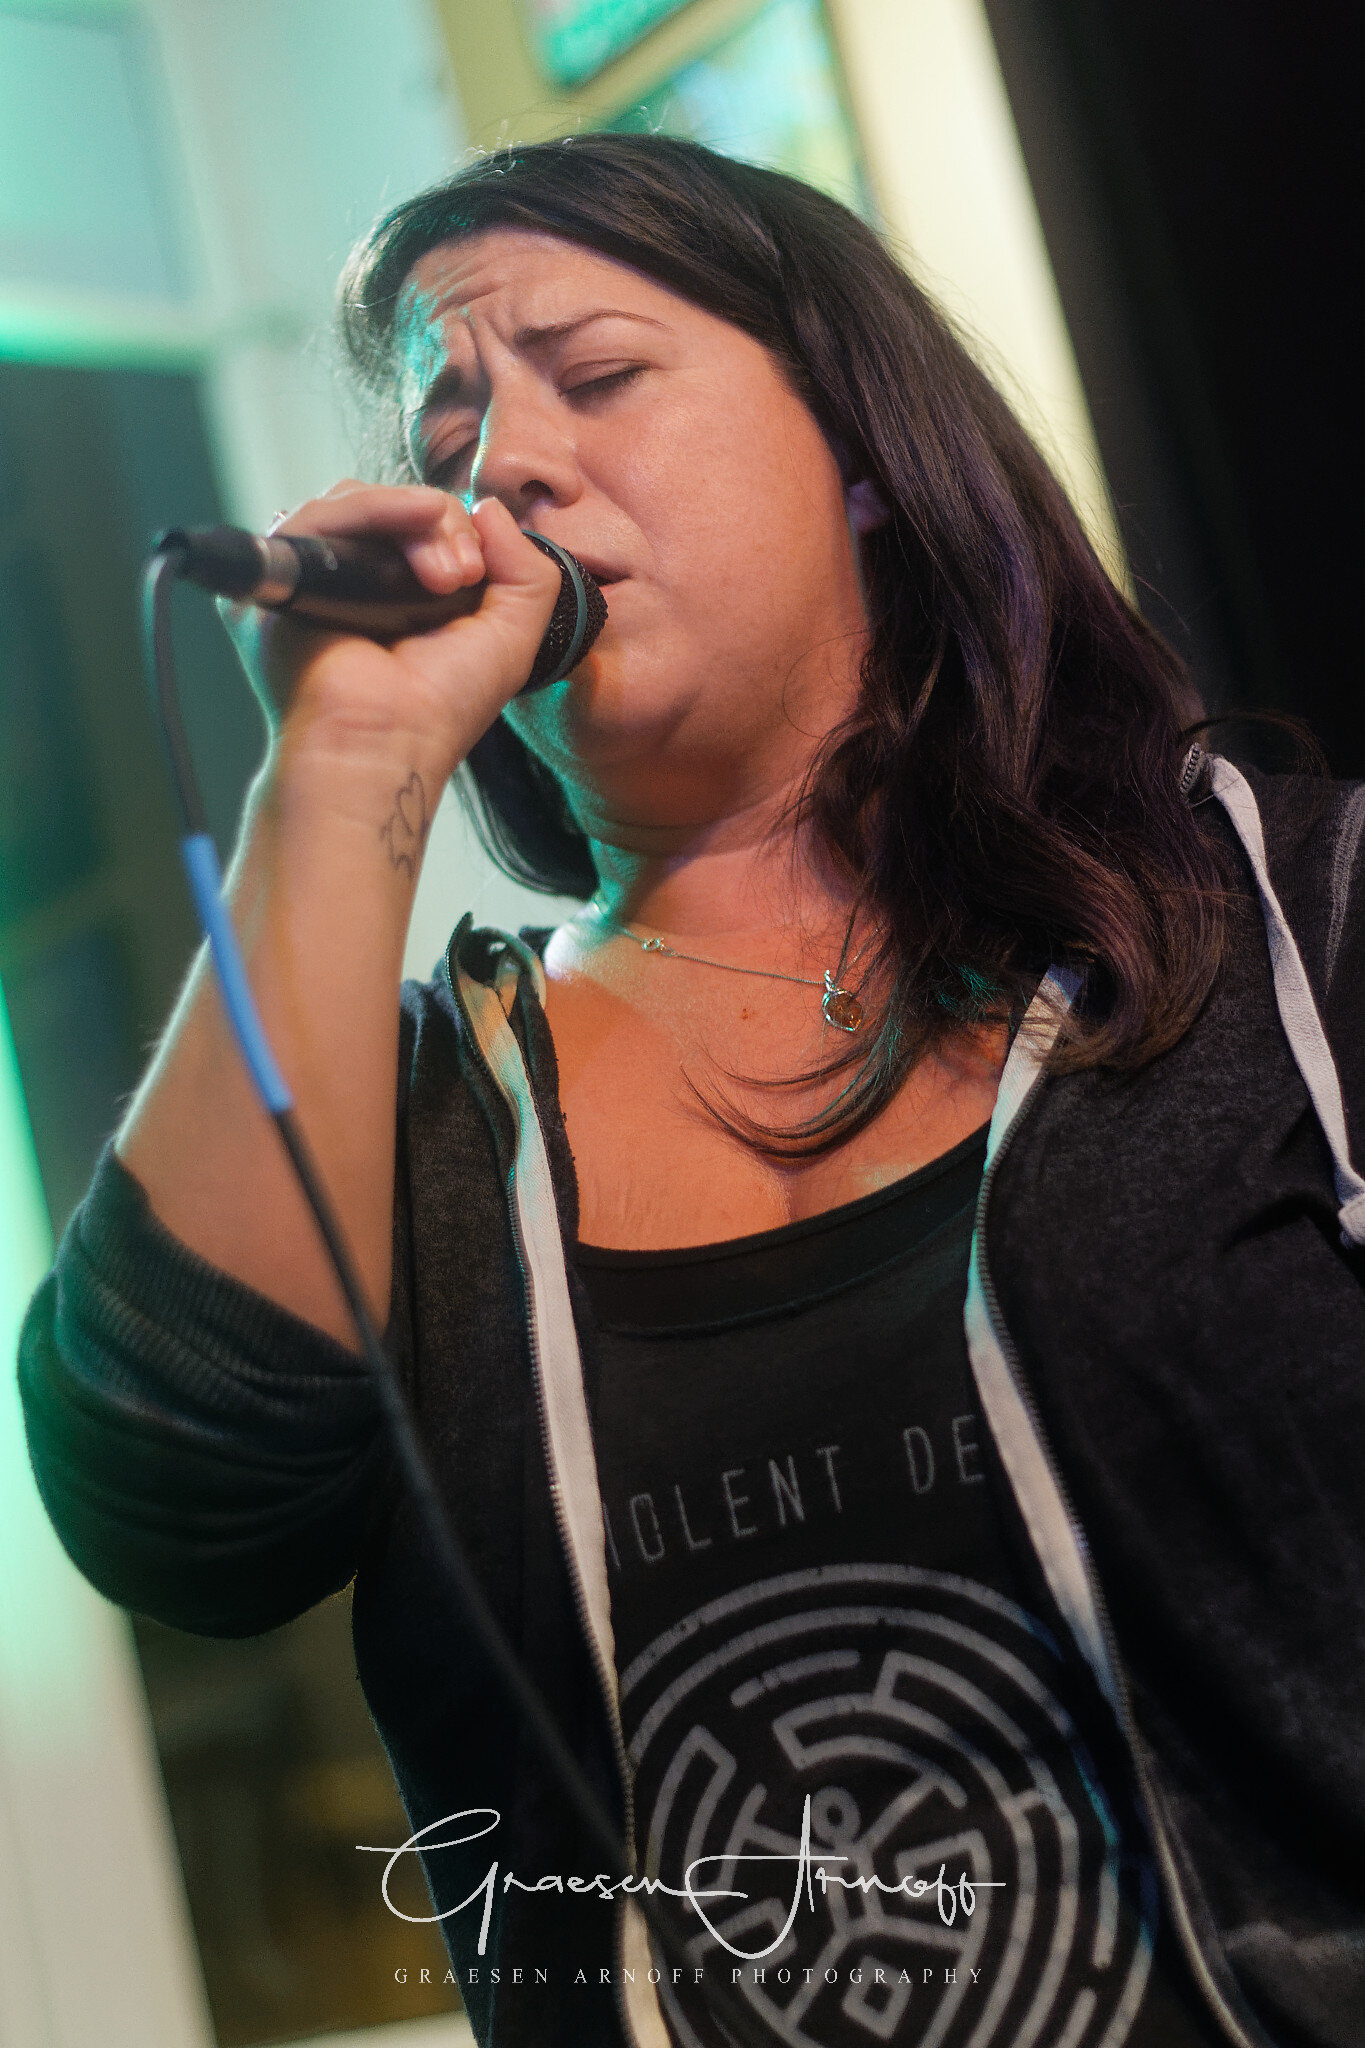
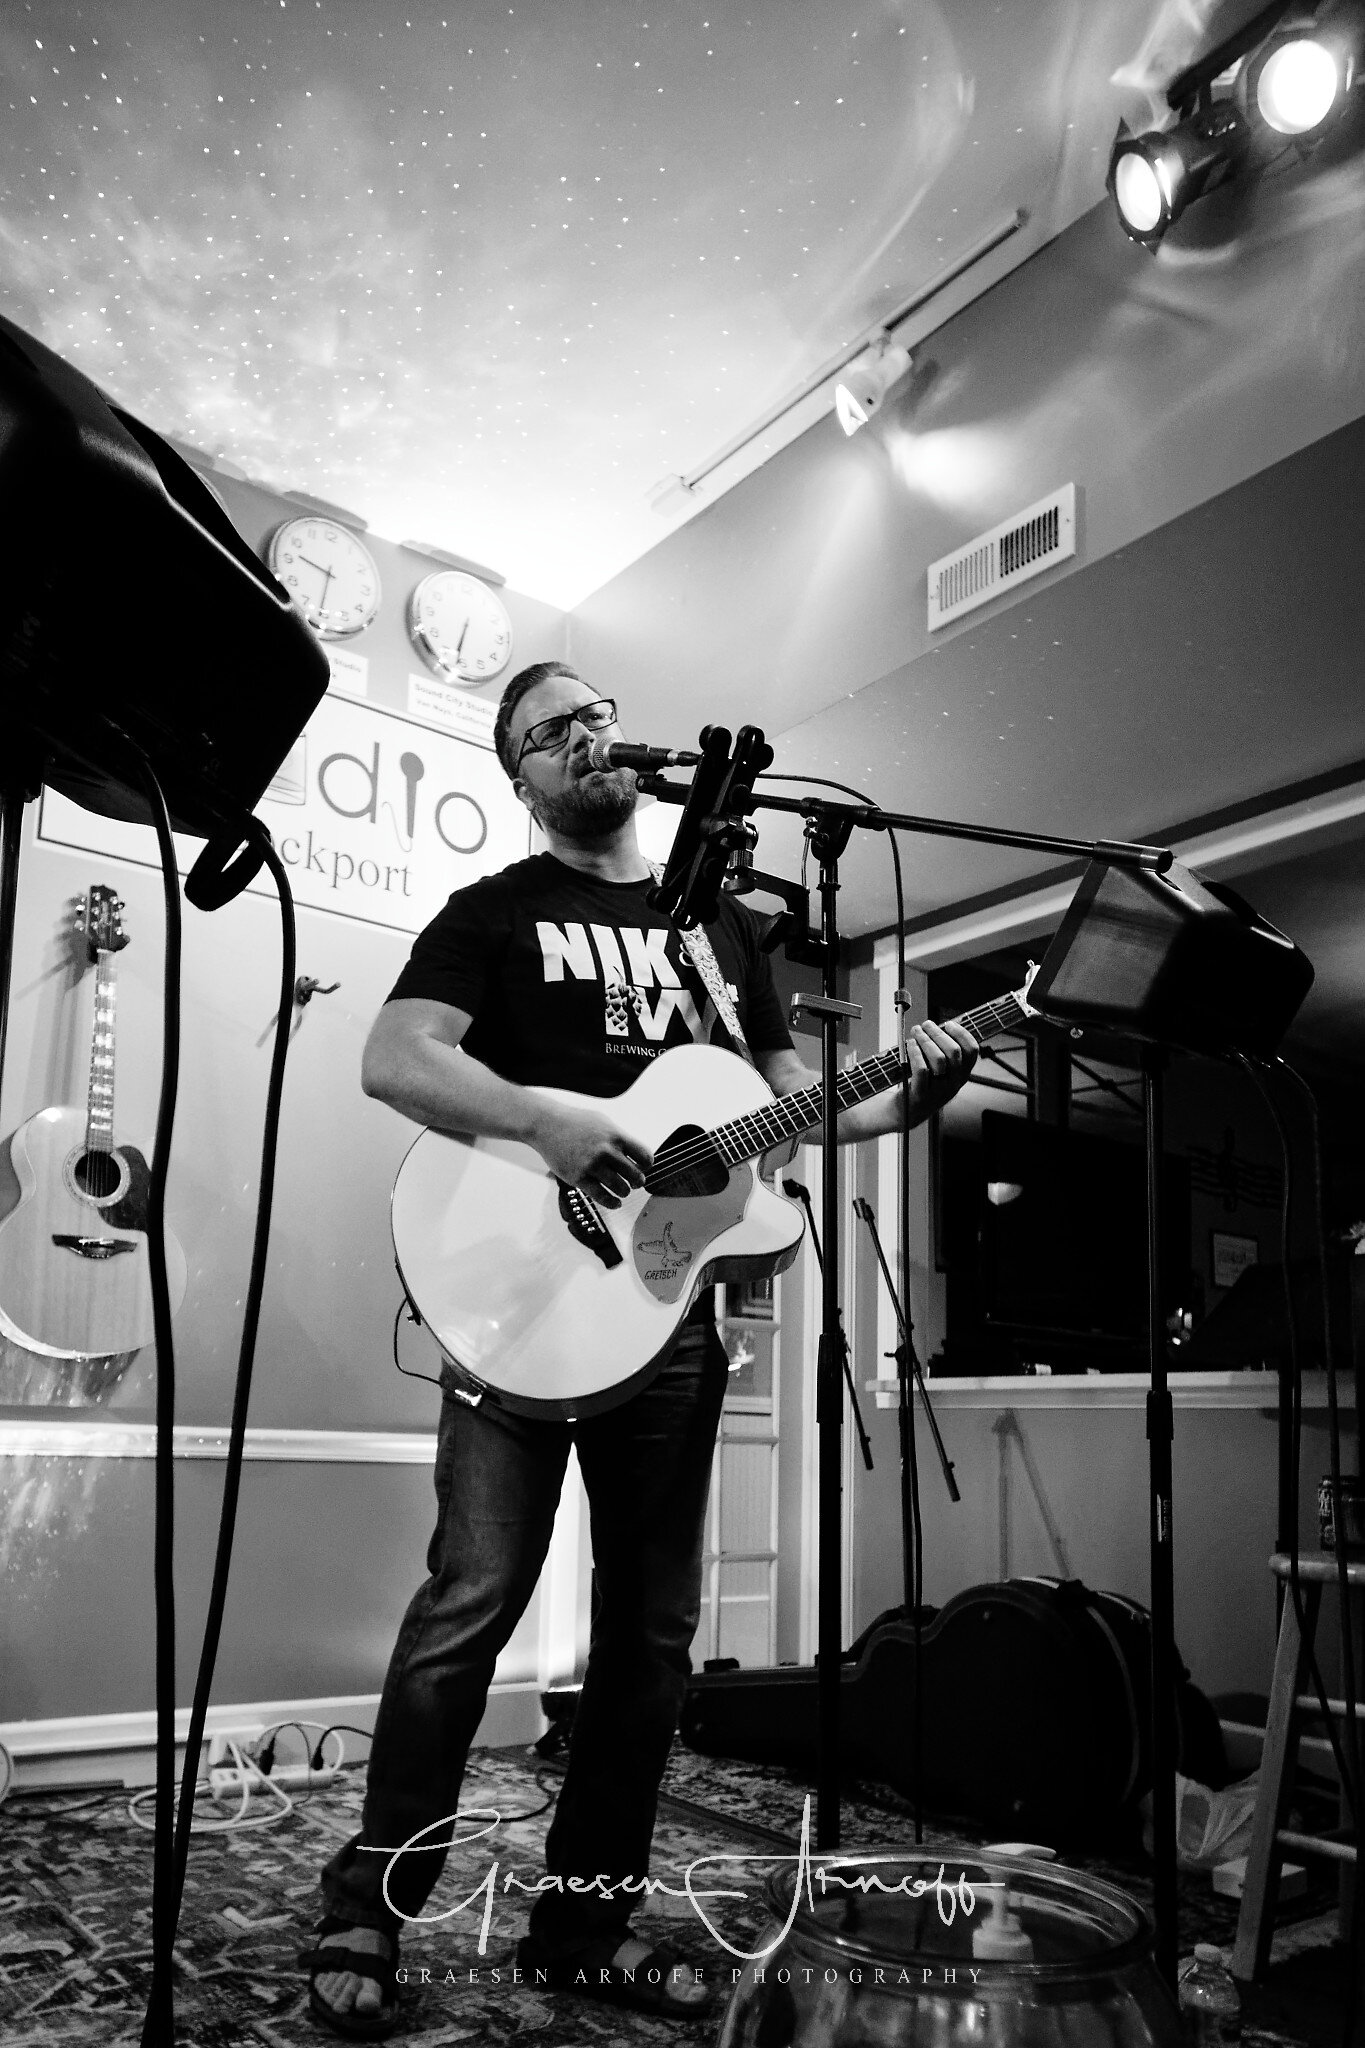
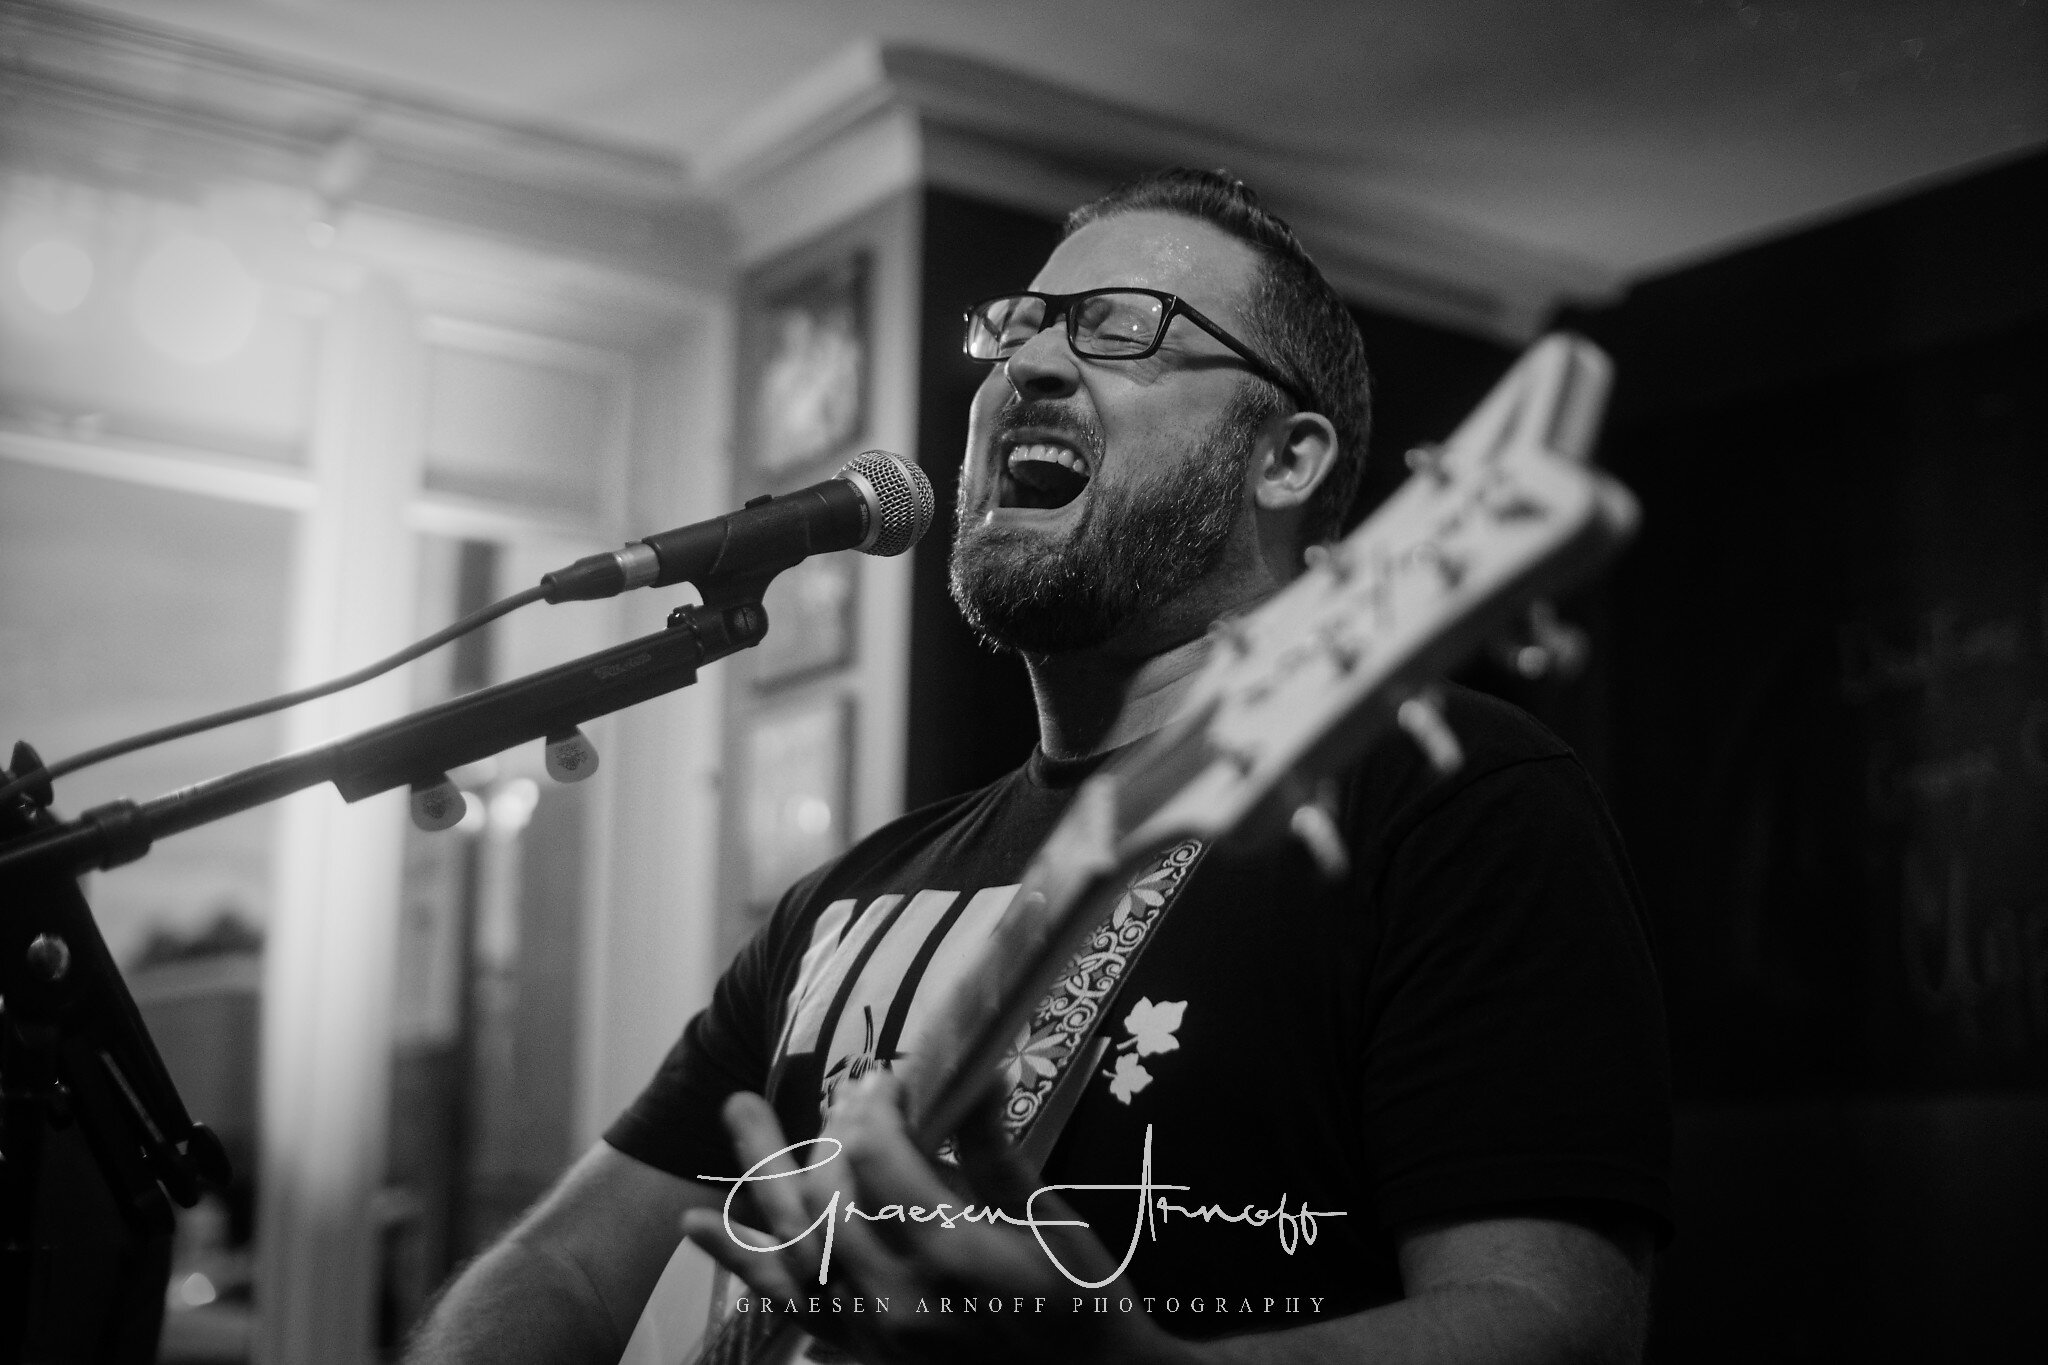
The following photos were shot using my Canon M5 using the techniques I described above. The mistake of not using my focus and recompose method due to the focusing method I used meant most photos were slightly over exposed for my preference. I corrected this and color corrected the shots for natural skin tone using DcO Photolab and use DxO Filmpack for the black and white shots. I used 3 lenses for all of the shots to get a variation of perspectives. These lenses were a Sigma 30mm f/1.4 EX, Canon 50mm f/1.8 STM, and 7artisans 12mm f/2.8. I used a Tiffen Black Pro Mist 1/2 lens filter on the 30mm and 50mm lenses to soften the skin and introduce a subtle glow from the lights.


